
本日配信リリース!!! 「EAT THE PAST (English Ver.)」 Lyrics/Music/Arrangement: Iori Kanzaki Localization: Electic Squid / Lachlan Johnson / Hiroki Ueda / kahoca(Empty old City) 先月5月にシカゴで開催された「Anime Central 2025」で初披露した、花譜の代表曲「過去を喰らう」英語版を配信リリース! ぜひお聴きください。
本日配信リリース!!! 「EAT THE PAST (English Ver.)」 Lyrics/Music/Arrangement: Iori Kanzaki Localization: Electic Squid / Lachlan Johnson / Hiroki Ueda / kahoca(Empty old City) 先月5月にシカゴで開催された「Anime Central 2025」で初披露した、花譜の代表曲「過去を喰らう」英語版を配信リリース! ぜひお聴きください。
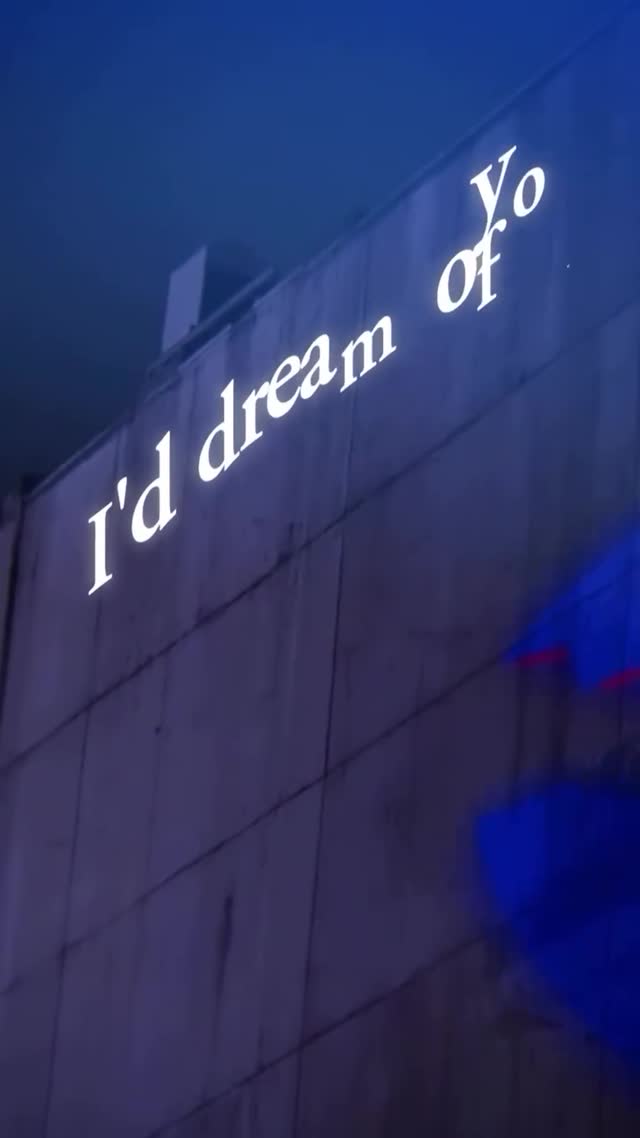
If you’ve ever needed a release announcement visual that feels intimate (not “promo-y”), this is a great reference: a single close-up character, a cool-blue night city blur, and one short line of copy that reads like a lyric. It’s simple on purpose — and that simplicity is exactly what makes it easy to remember, screenshot, and remix.
The first thing you feel here is distance + closeness at the same time: the city is far away (bokeh, haze, blue ambience), but the face is right in front of you. That contrast creates emotional volume without adding narrative clutter. Then the typography does something smart: it doesn’t explain the story — it invites the viewer to supply their own. “Searching for your smile,” is a hook that works whether you’re teasing a song, a reel, a chapter drop, or just a mood.
From a creator-growth angle, this is also a “fast-read” asset. In the first half-second you can parse: who (one subject), where (night city), tone (cool + wistful), and message (one line of text). The background blur is doing the heavy lifting — it makes the image feel cinematic while keeping the attention locked on the face.
| Signal | Evidence (from this image) | Mechanism | Replication Action |
|---|---|---|---|
| One-face dominance | Subject fills most of the frame; eye-level gaze | Instant emotional connection; viewers stop because it “looks back” | Lock a medium close-up, centered framing; keep the face unobstructed |
| Blue-night mood | Cool ambient grade + cyan rim light; soft bloom | Makes the piece feel cinematic and nostalgic without needing plot | Push cool ambient lighting + add a cyan rim; lift blacks slightly |
| Lyric-like micro copy | “Searching for your smile,” in white serif type | Creates a “caption inside the image” that’s screenshot-friendly | Use a 4–6 word line; keep it legible; reserve negative space for text |
Transfer 1: same mood, different hero
{hero} close-up, {city} night bokeh, cool blue grade, cyan rim light, serif lyric line: “{hook}”Transfer 2: same typography, new scene
centered portrait, {scene} at night, strong bokeh, serif text layout, “{line}”Transfer 3: same face, different emotion
{hero} medium close-up, cool city night blur, subtle bloom, expression: {emotion}, text: “{promise}”What makes this look “expensive” isn’t a complicated scene — it’s three controllable choices: (1) a background that’s intentionally unreadable (heavy blur), (2) a cool ambient grade with a neon edge, and (3) a face that stays soft and centered. Notice how the subject’s hair picks up a cyan outline: that tiny rim is enough to separate the character from the city lights. The eyes do the opposite: they’re the warmest thing in the frame, which pulls attention straight to the gaze.
| Observed | How to recreate (prompt/control) |
|---|---|
| Soft frontal fill, minimal shadows | “soft front fill, low contrast lighting, minimal hard shadows” |
| Cyan rim outlining hair/shoulders | “cyan rim light, neon edge glow, cool blue rim on camera-right” |
| Night city bokeh + haze | “night urban background, heavy bokeh, atmospheric haze, filmic bloom” |
| Centered close-up with text-safe space | “centered medium close-up, reserve negative space top-left for serif text” |
| Prompt chunk | What it controls | Swap ideas (EN, 2–3 options) |
|---|---|---|
subject close-up, calm vulnerable expression |
Stop power and emotional tone | “gentle smile”, “teary eyes”, “determined stare” |
night urban bokeh, atmospheric haze |
Background energy without clutter | “subway platform blur”, “rainy neon street”, “rooftop skyline” |
cool ambient + cyan rim light |
Separation and cinematic feel | “warm tungsten rim”, “magenta rim”, “moonlight rim” |
85mm telephoto, shallow depth of field |
Compression + subject dominance | “50mm natural”, “105mm dreamy compression”, “35mm more environment” |
white serif lyric text layout |
Memorability + screenshot value | “all-caps sans”, “handwritten note”, “typewriter mono” |
centered anime 3D portrait, calm gaze, night city bokeh, cool blue ambient, cyan rim light,
85mm telephoto, shallow depth of field, subtle bloom,
white serif text: “Searching for your smile,” with text-safe space top-leftChange only 1–2 knobs per run. If you change hair, scene, lighting, and font all at once, you won’t know what actually improved the image.