Halloween Witch Finger Cookies How-To
A playful vertical recipe video that mixes, rolls, and bakes witch finger cookies with almond “nails,” turning a creepy idea into cute, craveable Halloween treats.
Recipe, Halloween, TikTok, YouTube Shorts, Tutorial
Category
Stories
Duration
20s
Platform
TikTok, Instagram Reels, YouTube Shorts
Alici Video Mode
Standard Mode
Step 1 Describe the task
A 5-step recipe tutorial: mix dough, roll thin logs, carve knuckles, press nut “nails,” and bake to golden witch fingers with a fun spooky vibe.
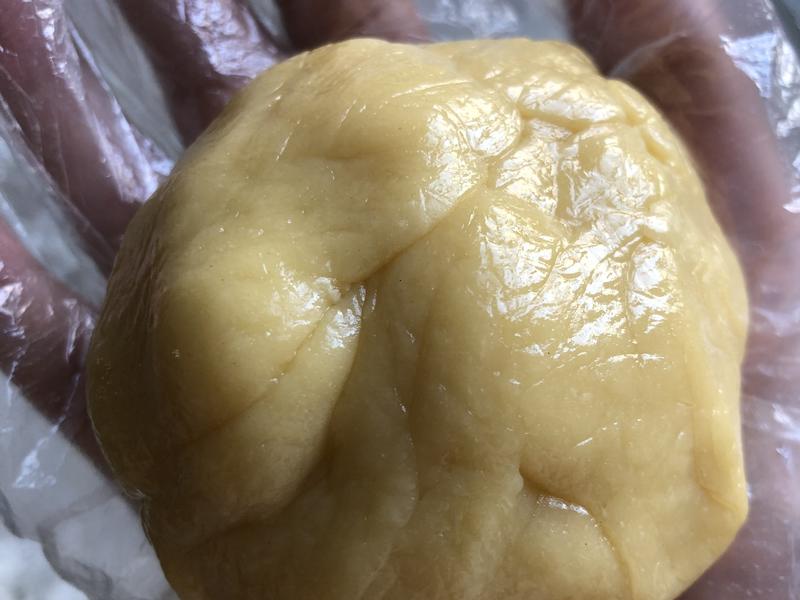
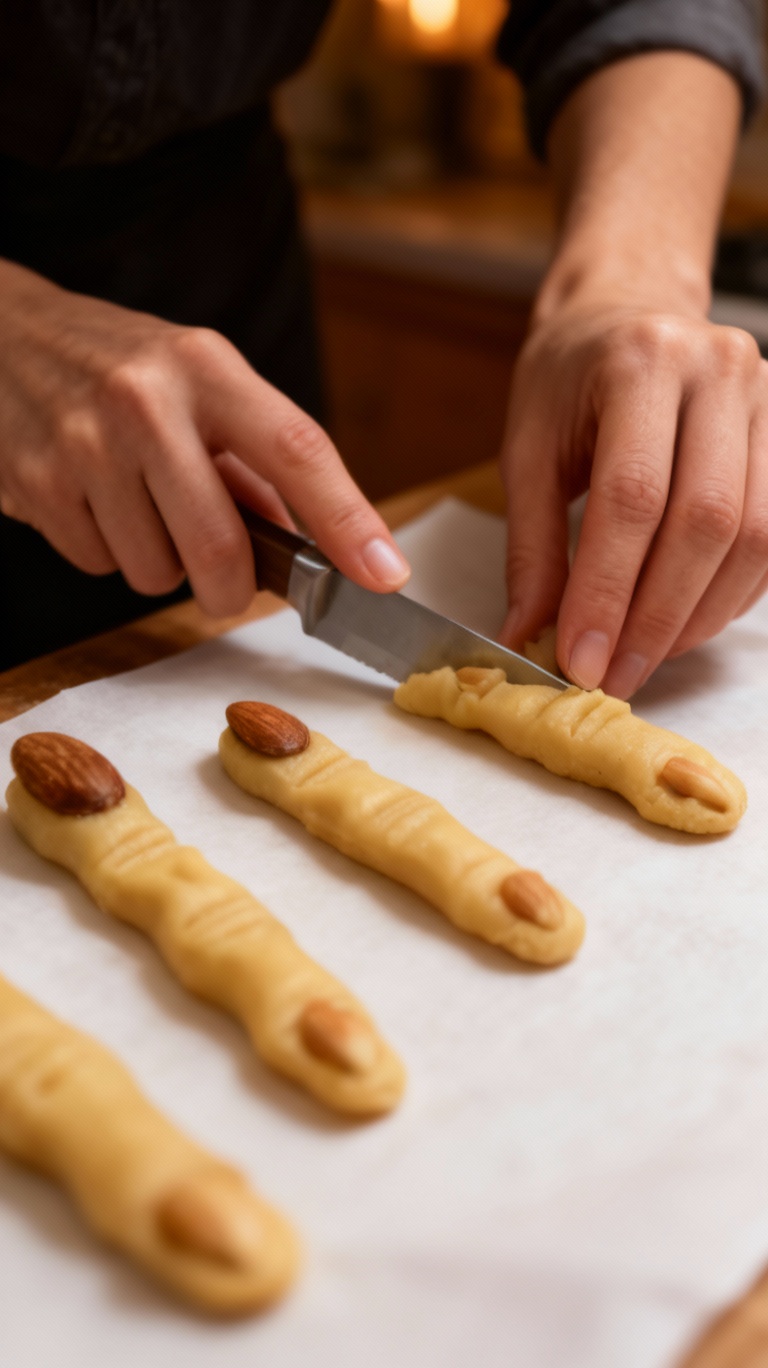
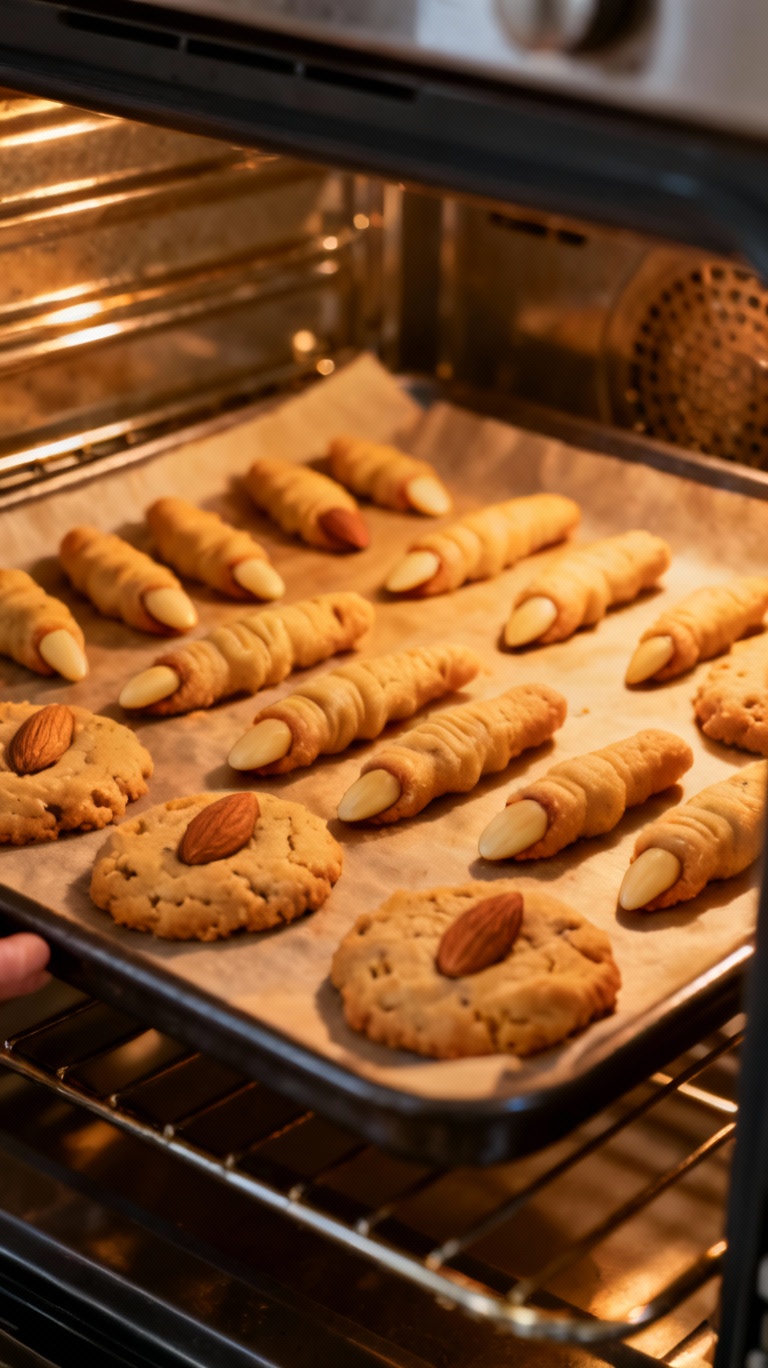
This is a Halloween witch finger cookie recipe that should be followed step by step (some step images are in the reference; they aren’t very appealing and need to be refined). First, mix and knead the dough, then form it into a ball. Roll the dough into multiple thin logs. Use a toothpick or similar tool to shape them into witch fingers, and use nuts to decorate the fingernails. Put them in the oven at 180°C, preheat for 3 minutes, then bake for 8–10 minutes. Present the results in a way that looks fun and eye-catching. This is a complete recipe showcase with a quirky, playful Halloween vibe—designed to make people want to try it.
Step 2 Understanding Context
Upload any reference shots of your dough texture and plating ideas. Share your preferred nail nut (almond, cashew) and food coloring palette—ghoulish green, bone beige, or blood-red jam.
Tell us your oven type and if you want on-screen measurements. Images of each in-progress step help the AI refine shape and browning for appetizing results.


Step 3 What Video SuperAgent creates
We’ll output a step-by-step storyboard with close-ups for mixing, shaping, and baking, plus playful overlays and pacing cues for 8–10 minute bake timing.
From Alici Video Super Agent
🧙♀️ Creepy-Cute Witch Fingers
Five clear steps that make eerie cookies look irresistibly fun.
📋 Storyboard Design
Step | Time | Action | Camera / Style | Note |
|---|---|---|---|---|
Mix & Knead | 0-4s | Combine dough, form smooth ball | Top-down, macro texture | Show consistency |
Roll Logs | 4-8s | Divide and roll thin finger-length pieces | Side angle for length | Even thickness |
Shape Knuckles | 8-12s | Toothpick creases, bend slightly | Close-up on ridges | Add texture |
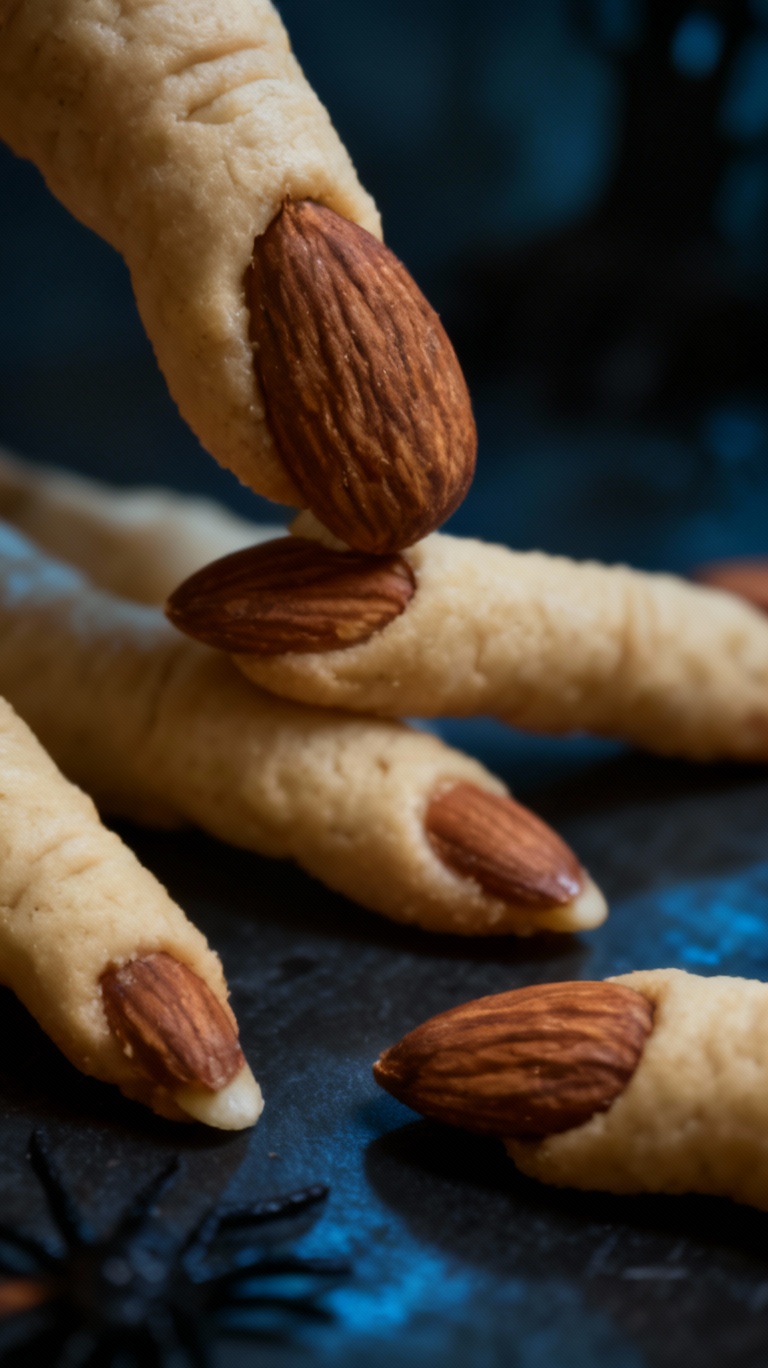
Add Nails | 12-16s | Press nuts as fingernails, tint edges | Macro reveal | Color pop |
Bake & Plate | 16-20s | Into 180°C oven, then gooey jam drizzle | Oven POV then hero plate | Appetizing finale |
Visual Highlights
Golden edges with slightly craggy knuckles
Glossy almond nails and optional red jam
Clean, bright kitchen backdrop
Music Beat Triggers
Dough slap
Knife/crease taps
Tray entering oven
Final jam drizzle


Step 4 Optimization & Follow-Up Prompts
Dial the delicious: After the draft, adjust browning, add more jam “blood,” or tighten each step to keep viewers watching through the bake.
Prompt 1: Improve appetizing look
"Add a light egg wash for shine; bake until edges golden but centers pale, then boost saturation on almonds."
Use when cookies look dry.
Prompt 2: Amp Halloween vibe
"Add a thin red jam line under each nail and a smoky purple backdrop; keep the cookies crisp and not over-dyed."
Use when the spooky factor feels low.
Step 5 Tricks, tips, and troubleshooting
Uniform size Keep each finger similar diameter or they’ll bake unevenly.
Nail security Press nuts firmly and add a dab of dough “cuticle” to prevent lifting.
Color balance Use subtle green tint or leave natural; too much dye looks unappetizing on camera.
Cooling time Let cookies cool a minute before plating so jam drizzle stays in place.
🎁
Limited-Time Creator Gift
Start Creating Your First Viral Video
Join 10,000+ creators who've discovered the secret to viral videos
More Use Cases

From Mat to Glow: My Daily Vitamin Routine

One Wipe. Zero Grease. Total Game-Changer.

Stop Guessing Your Golf Shots

Soda Cravings? My All-Day Fizz Fix

Every Moment Deserves the Right Look

Luxury Icons Reimagined as Animal Mascots

Adorably Terrifying: LEGO Horror Bloopers Reel

Judy Hopps Explains What Animals Really Eat

Spotify Playlist Portal: One Walk, Seven Worlds

Fresh Start Tech Tour: Cozy Gadgets for Mindful Living