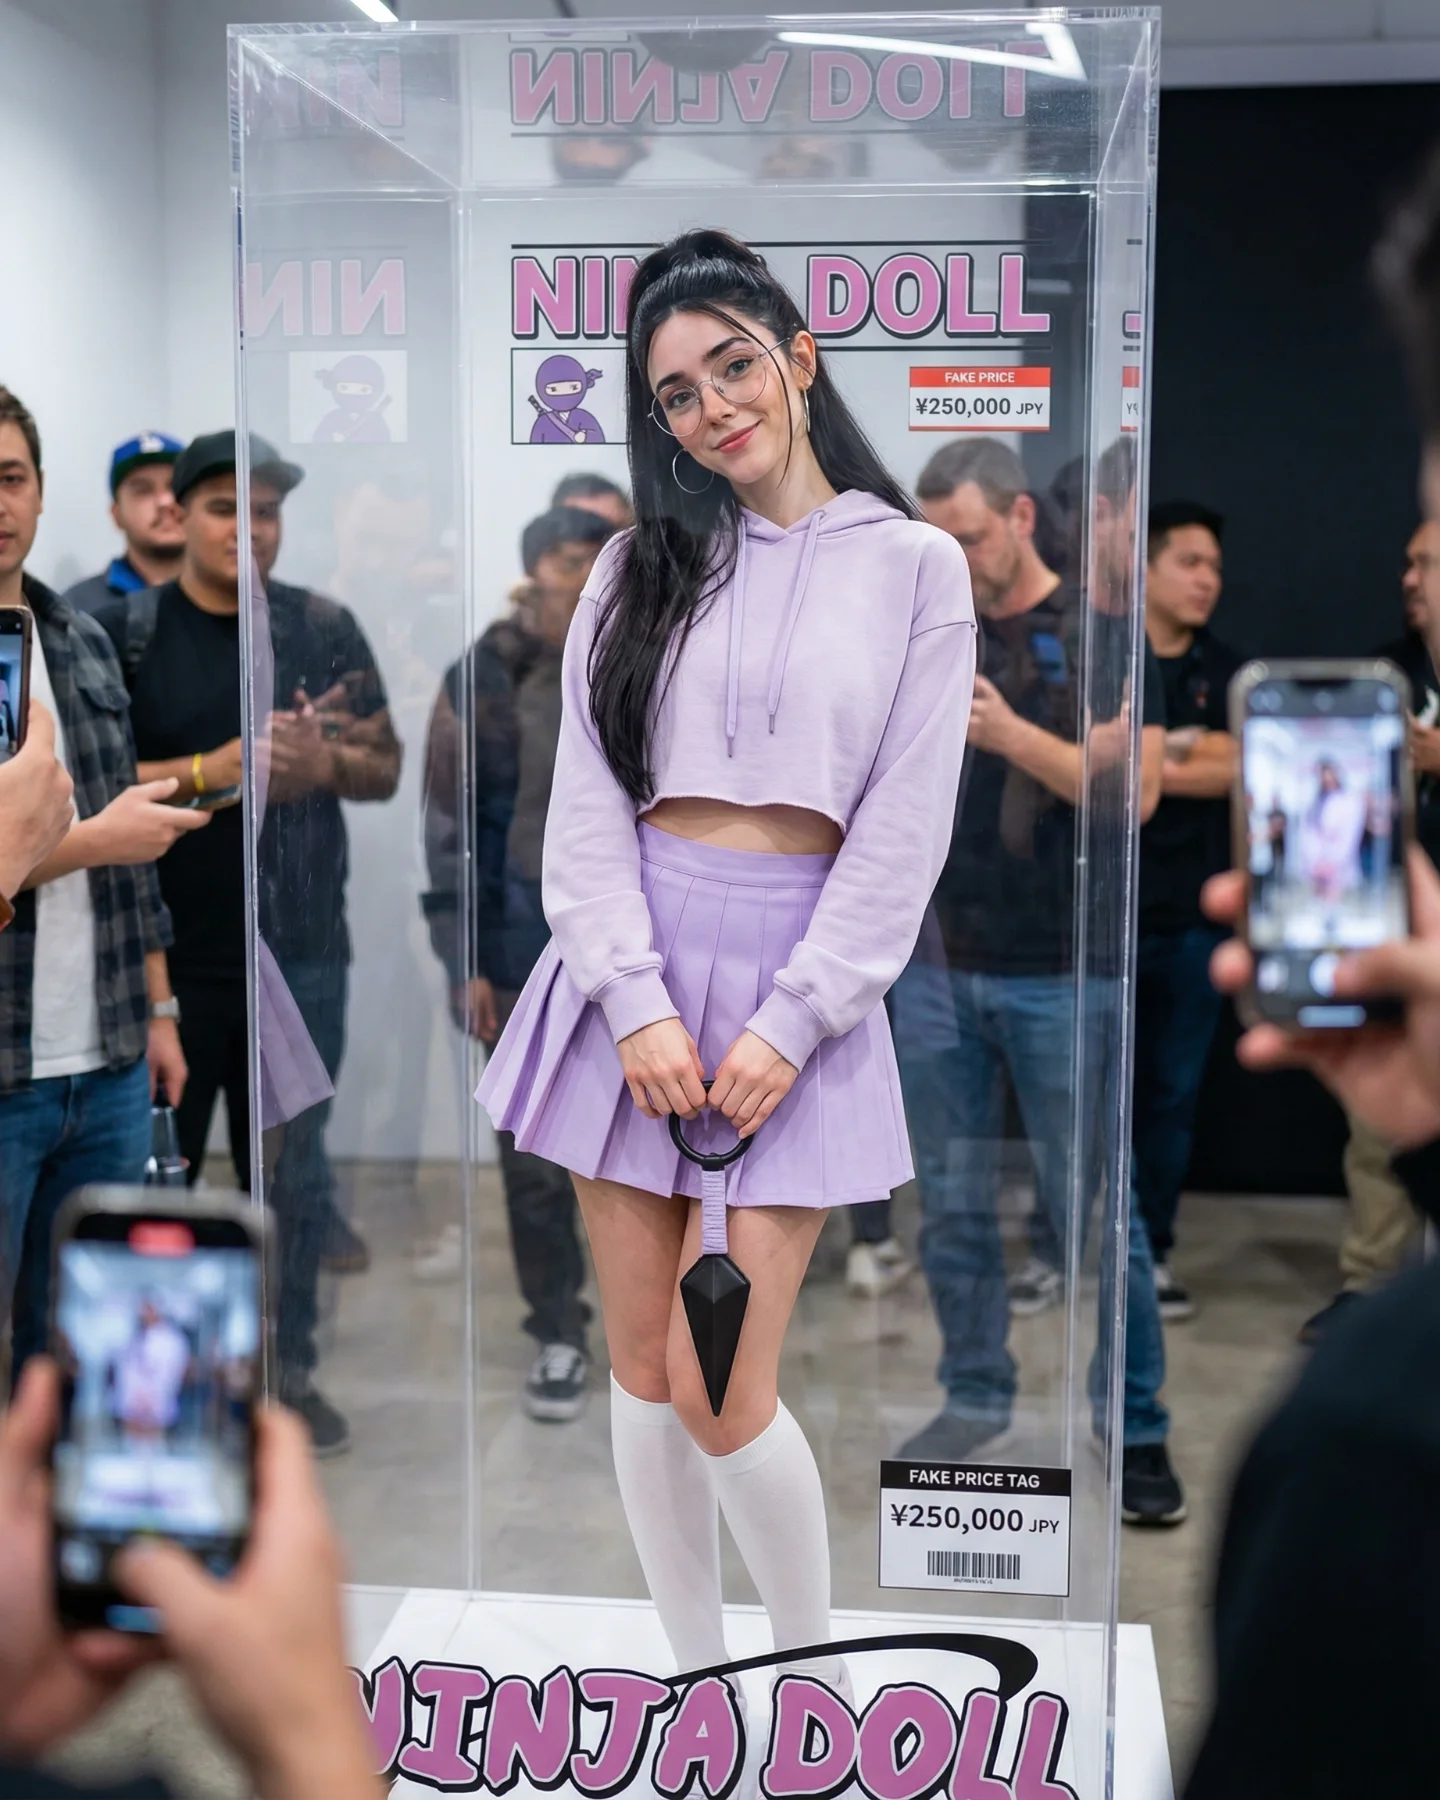
Naruto Cosplay Prompts 💕 Cual es tu favorita?? 🙊 Como siempre comenta ARIA y te mando todos los prompts por mensajes 💌
Naruto Cosplay Prompts 💕 Cual es tu favorita?? 🙊 Como siempre comenta ARIA y te mando todos los prompts por mensajes 💌
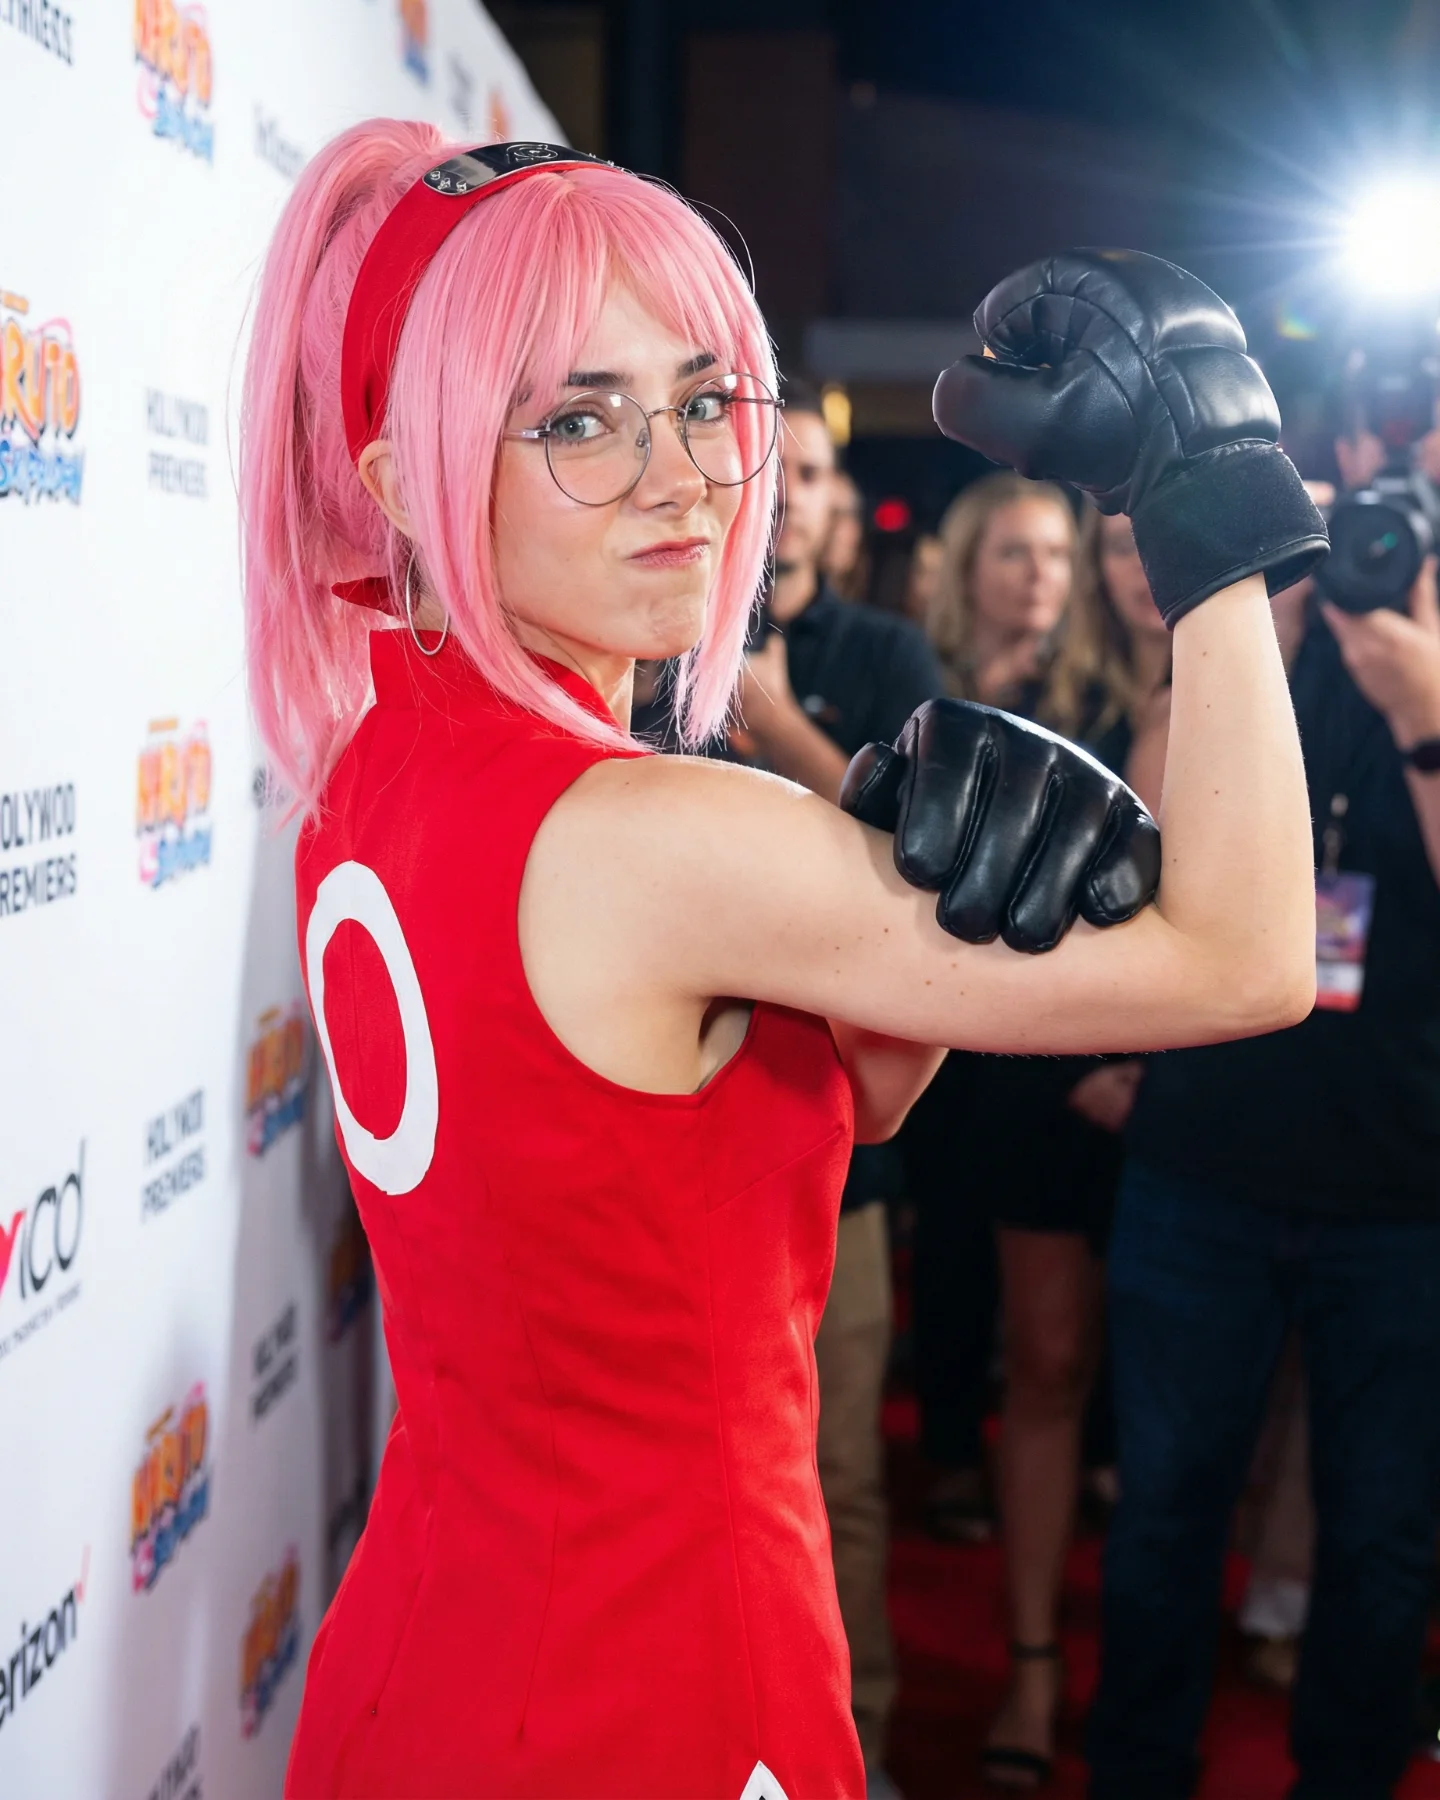
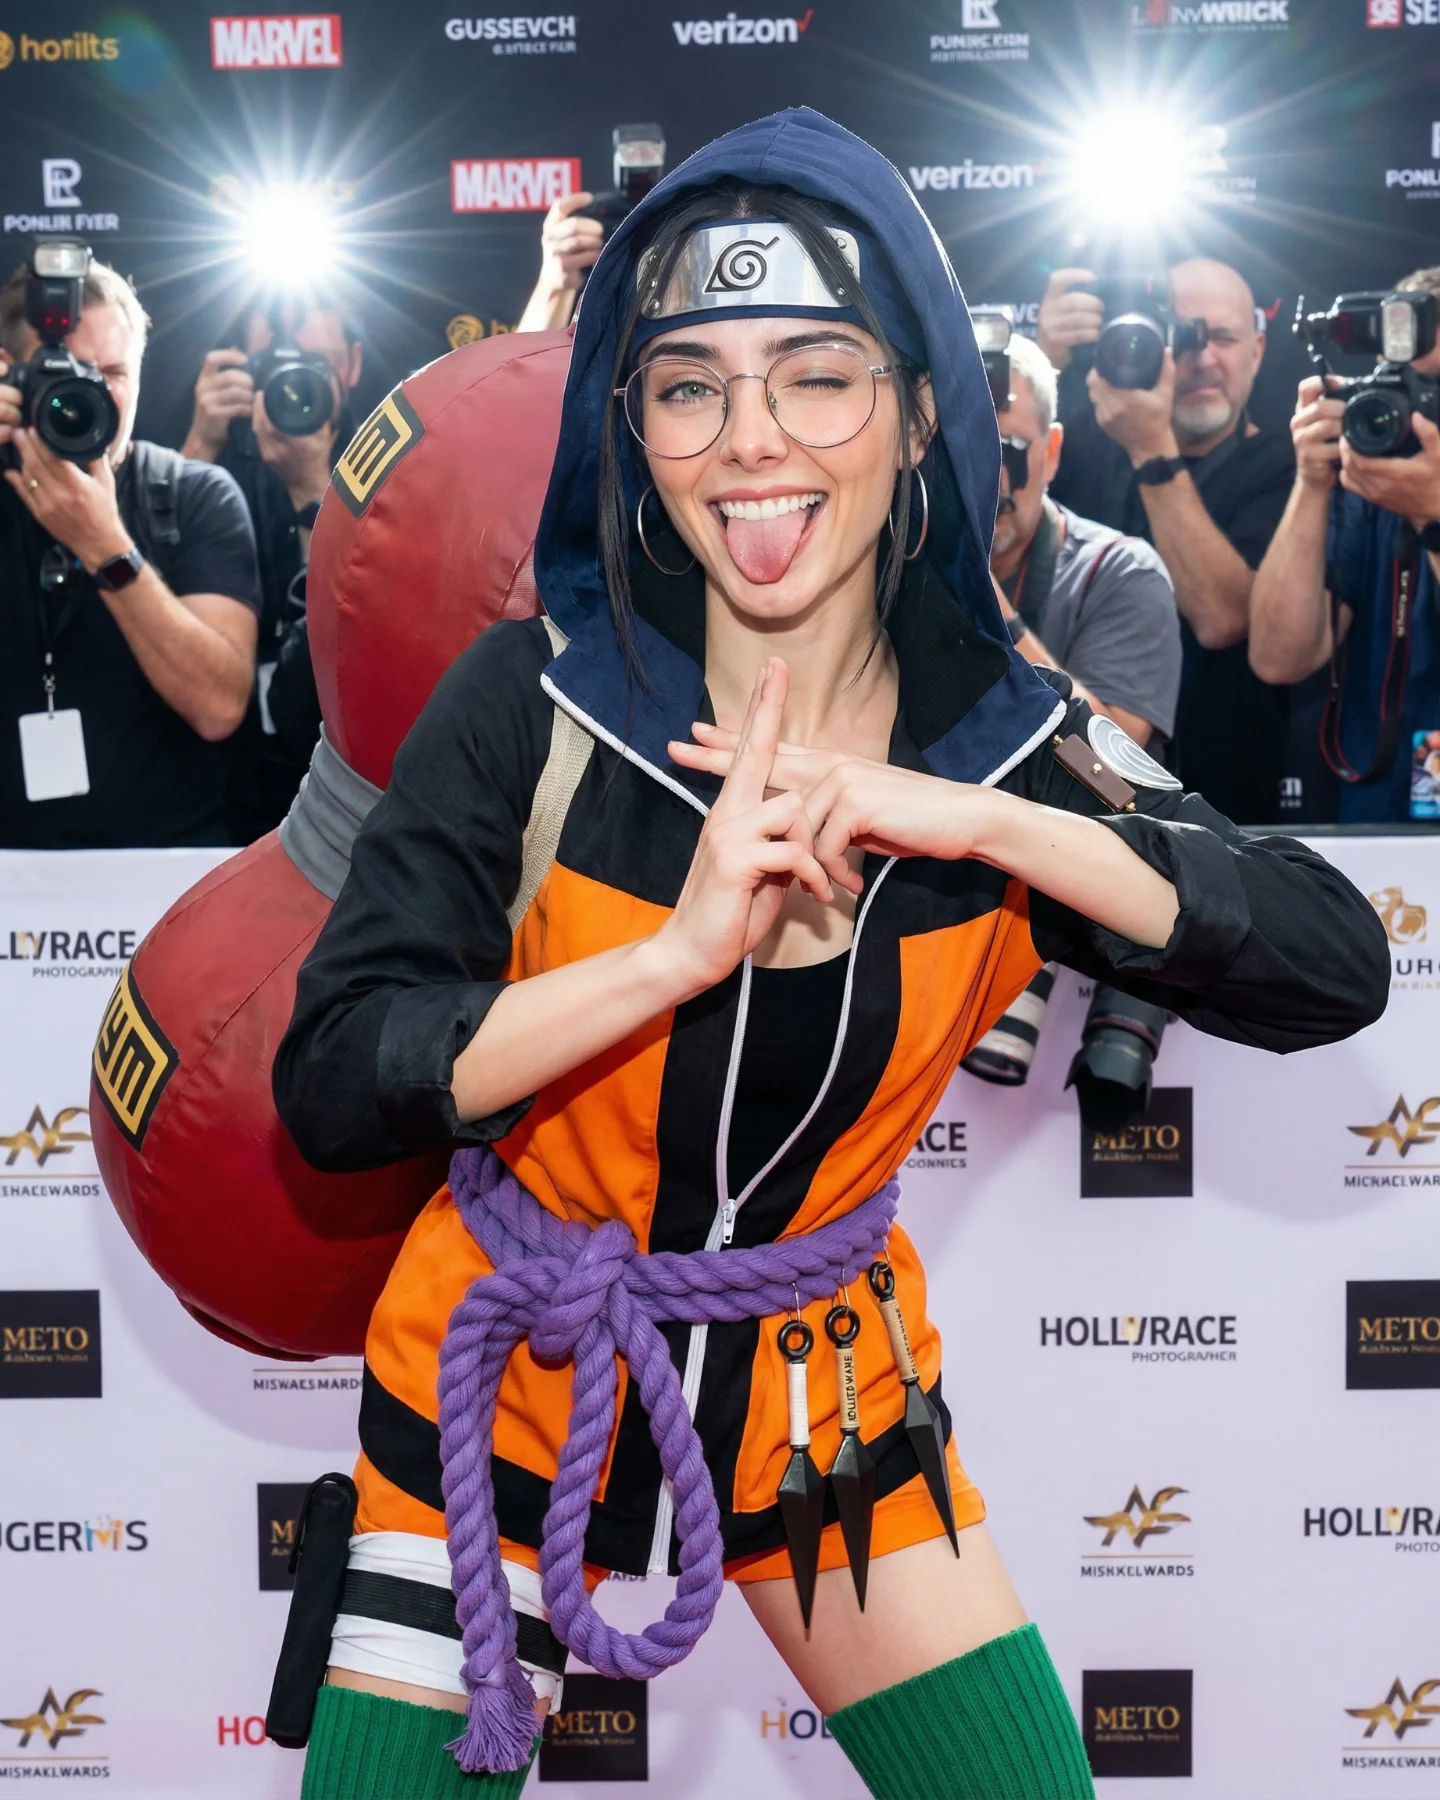
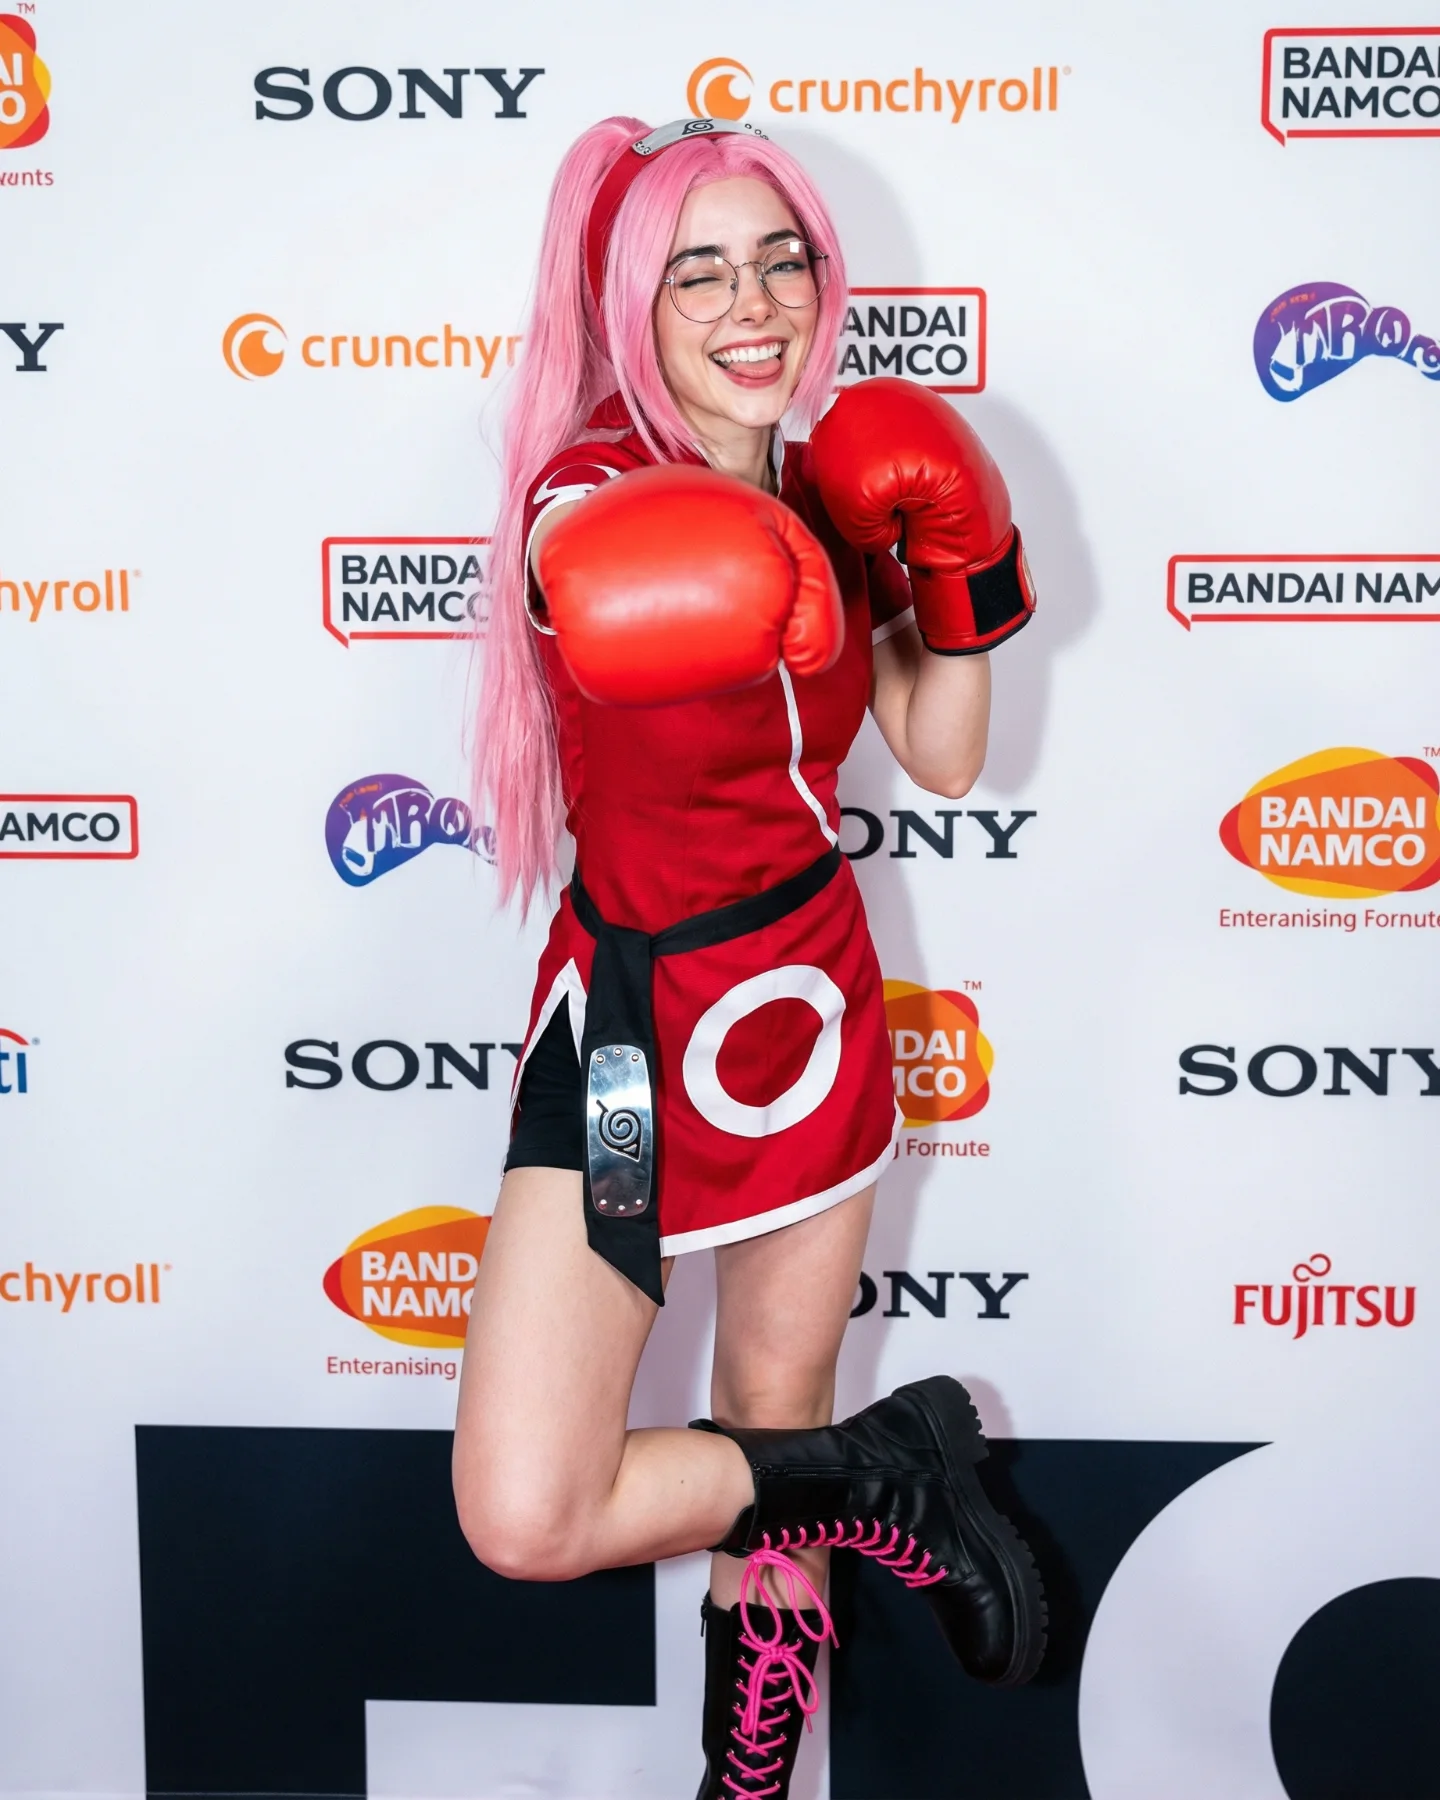
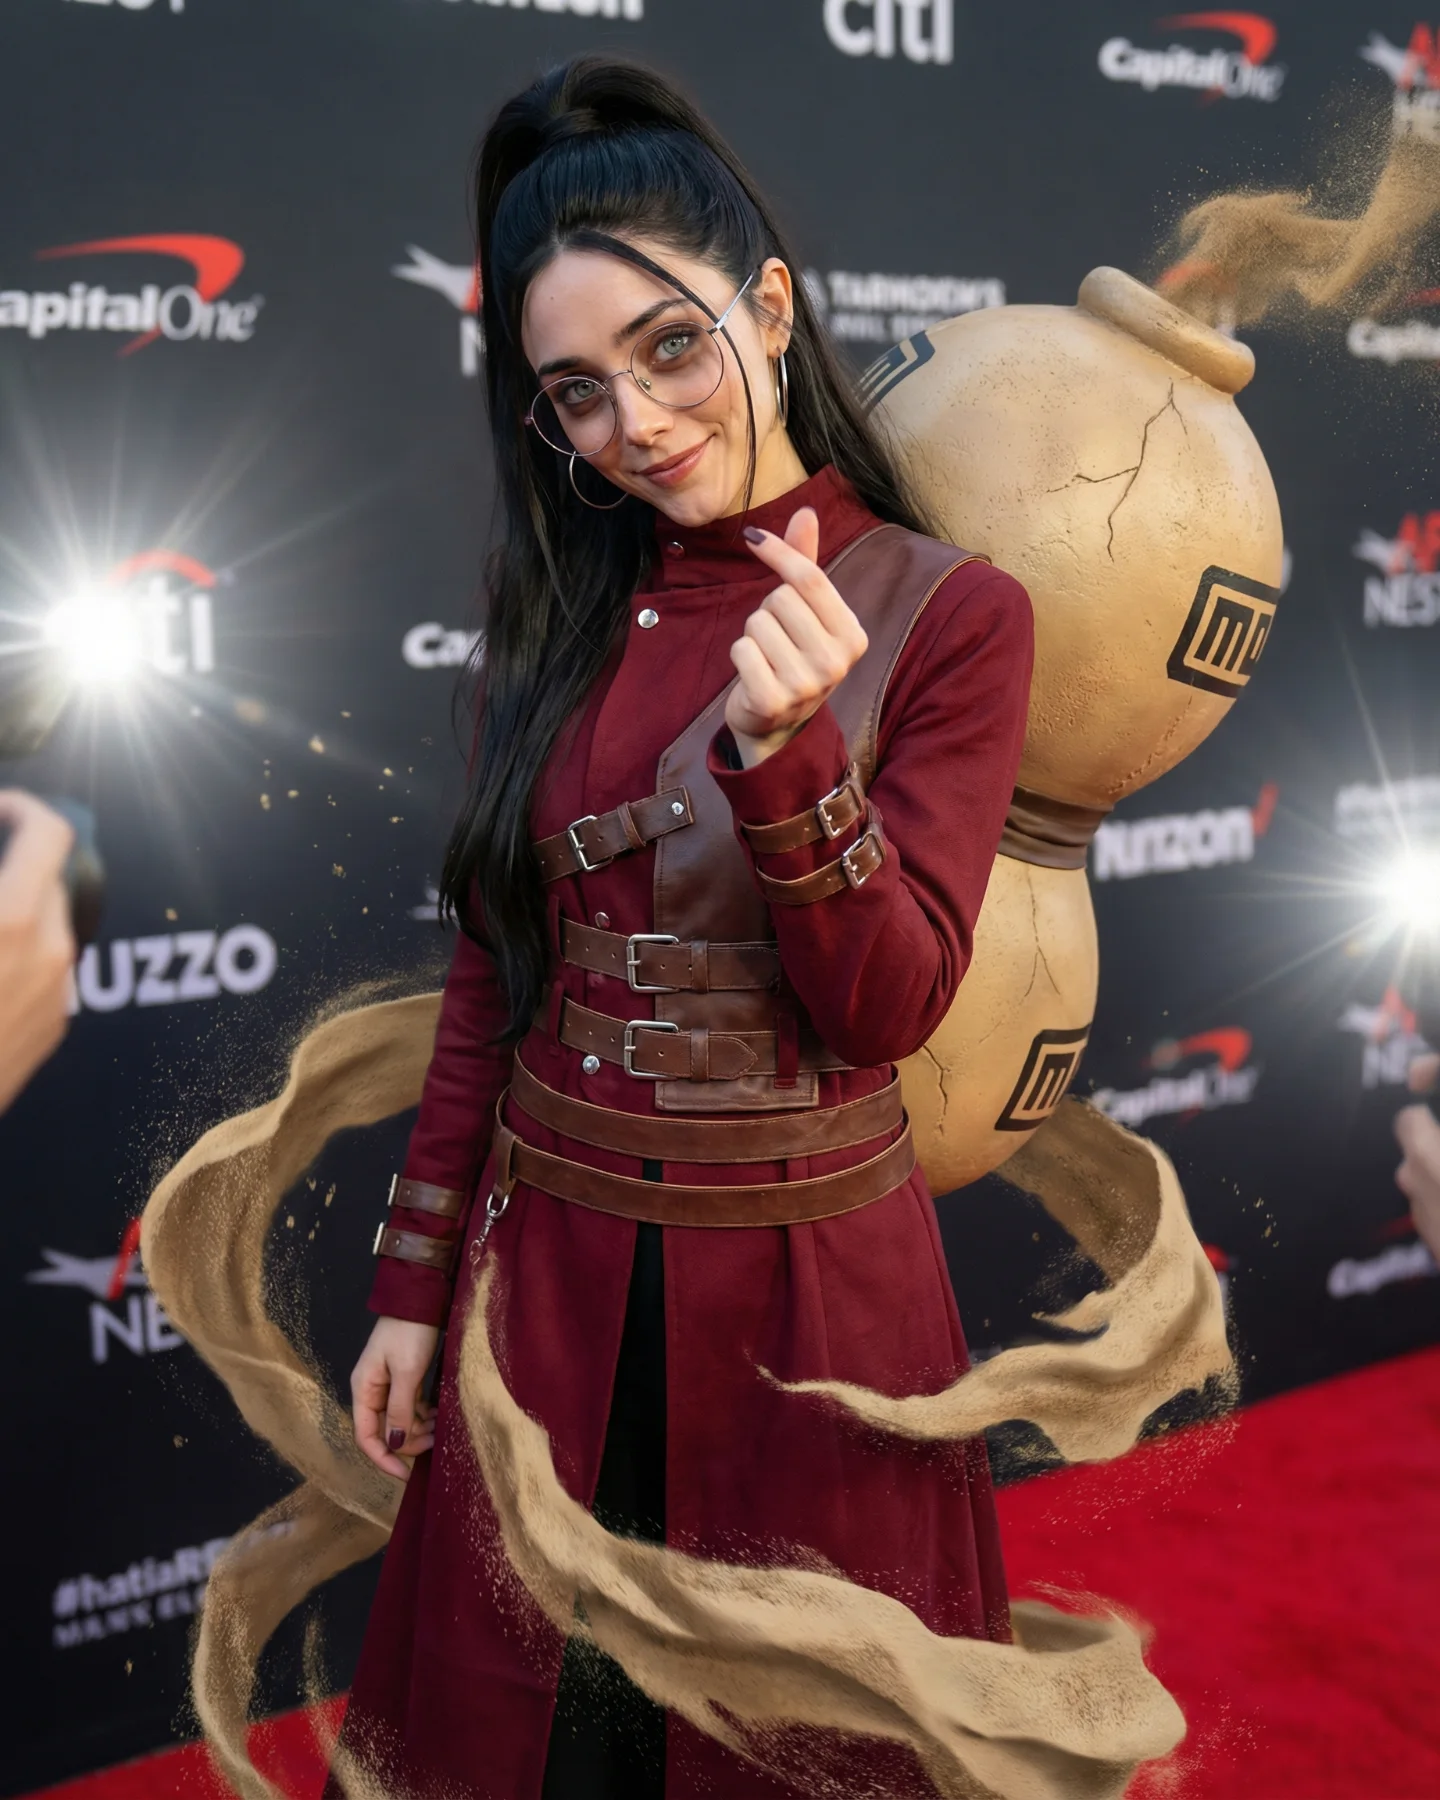
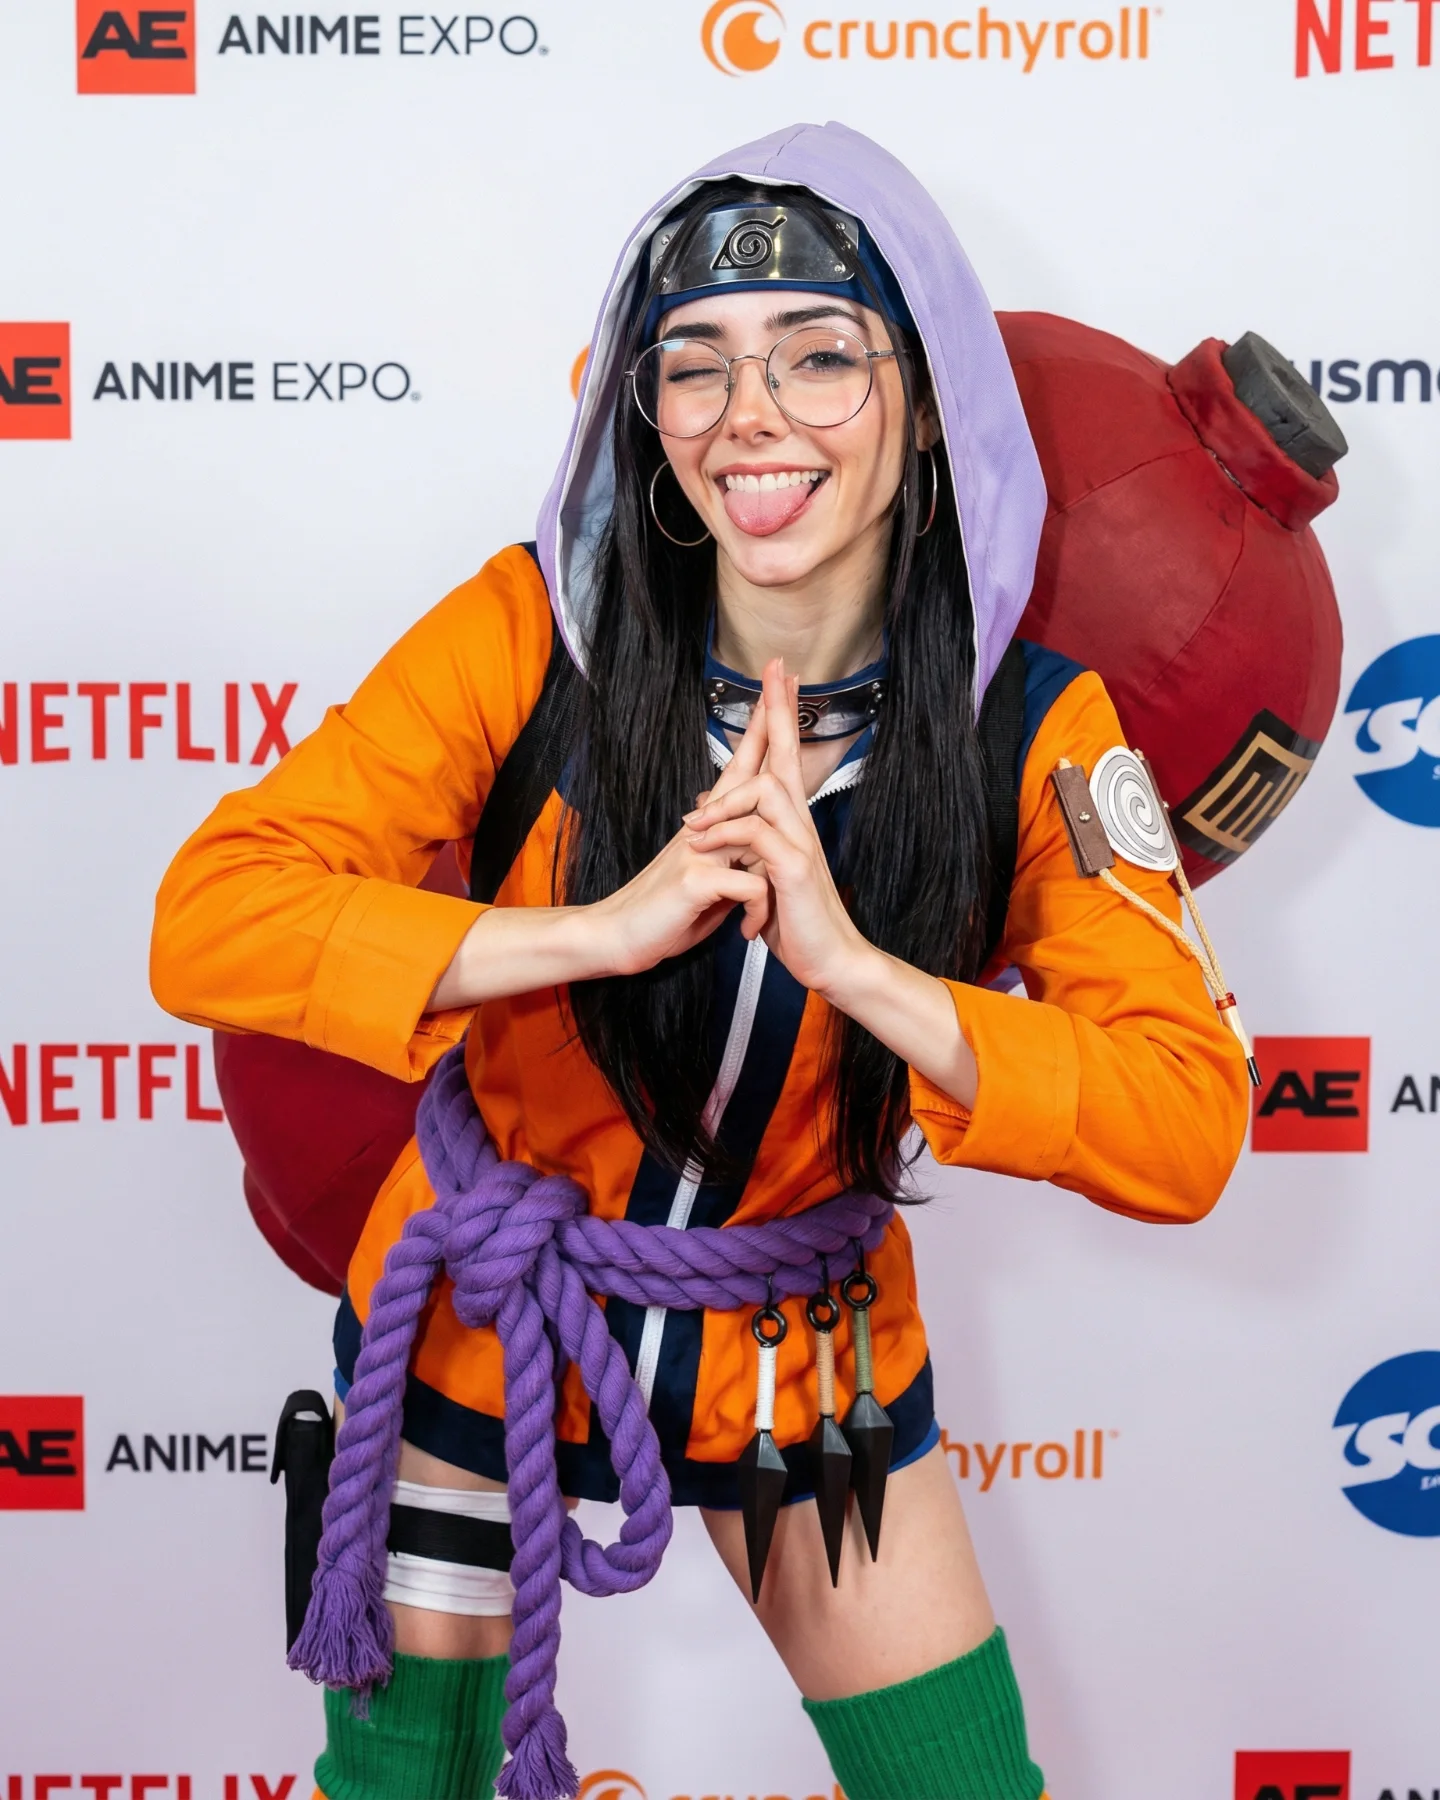
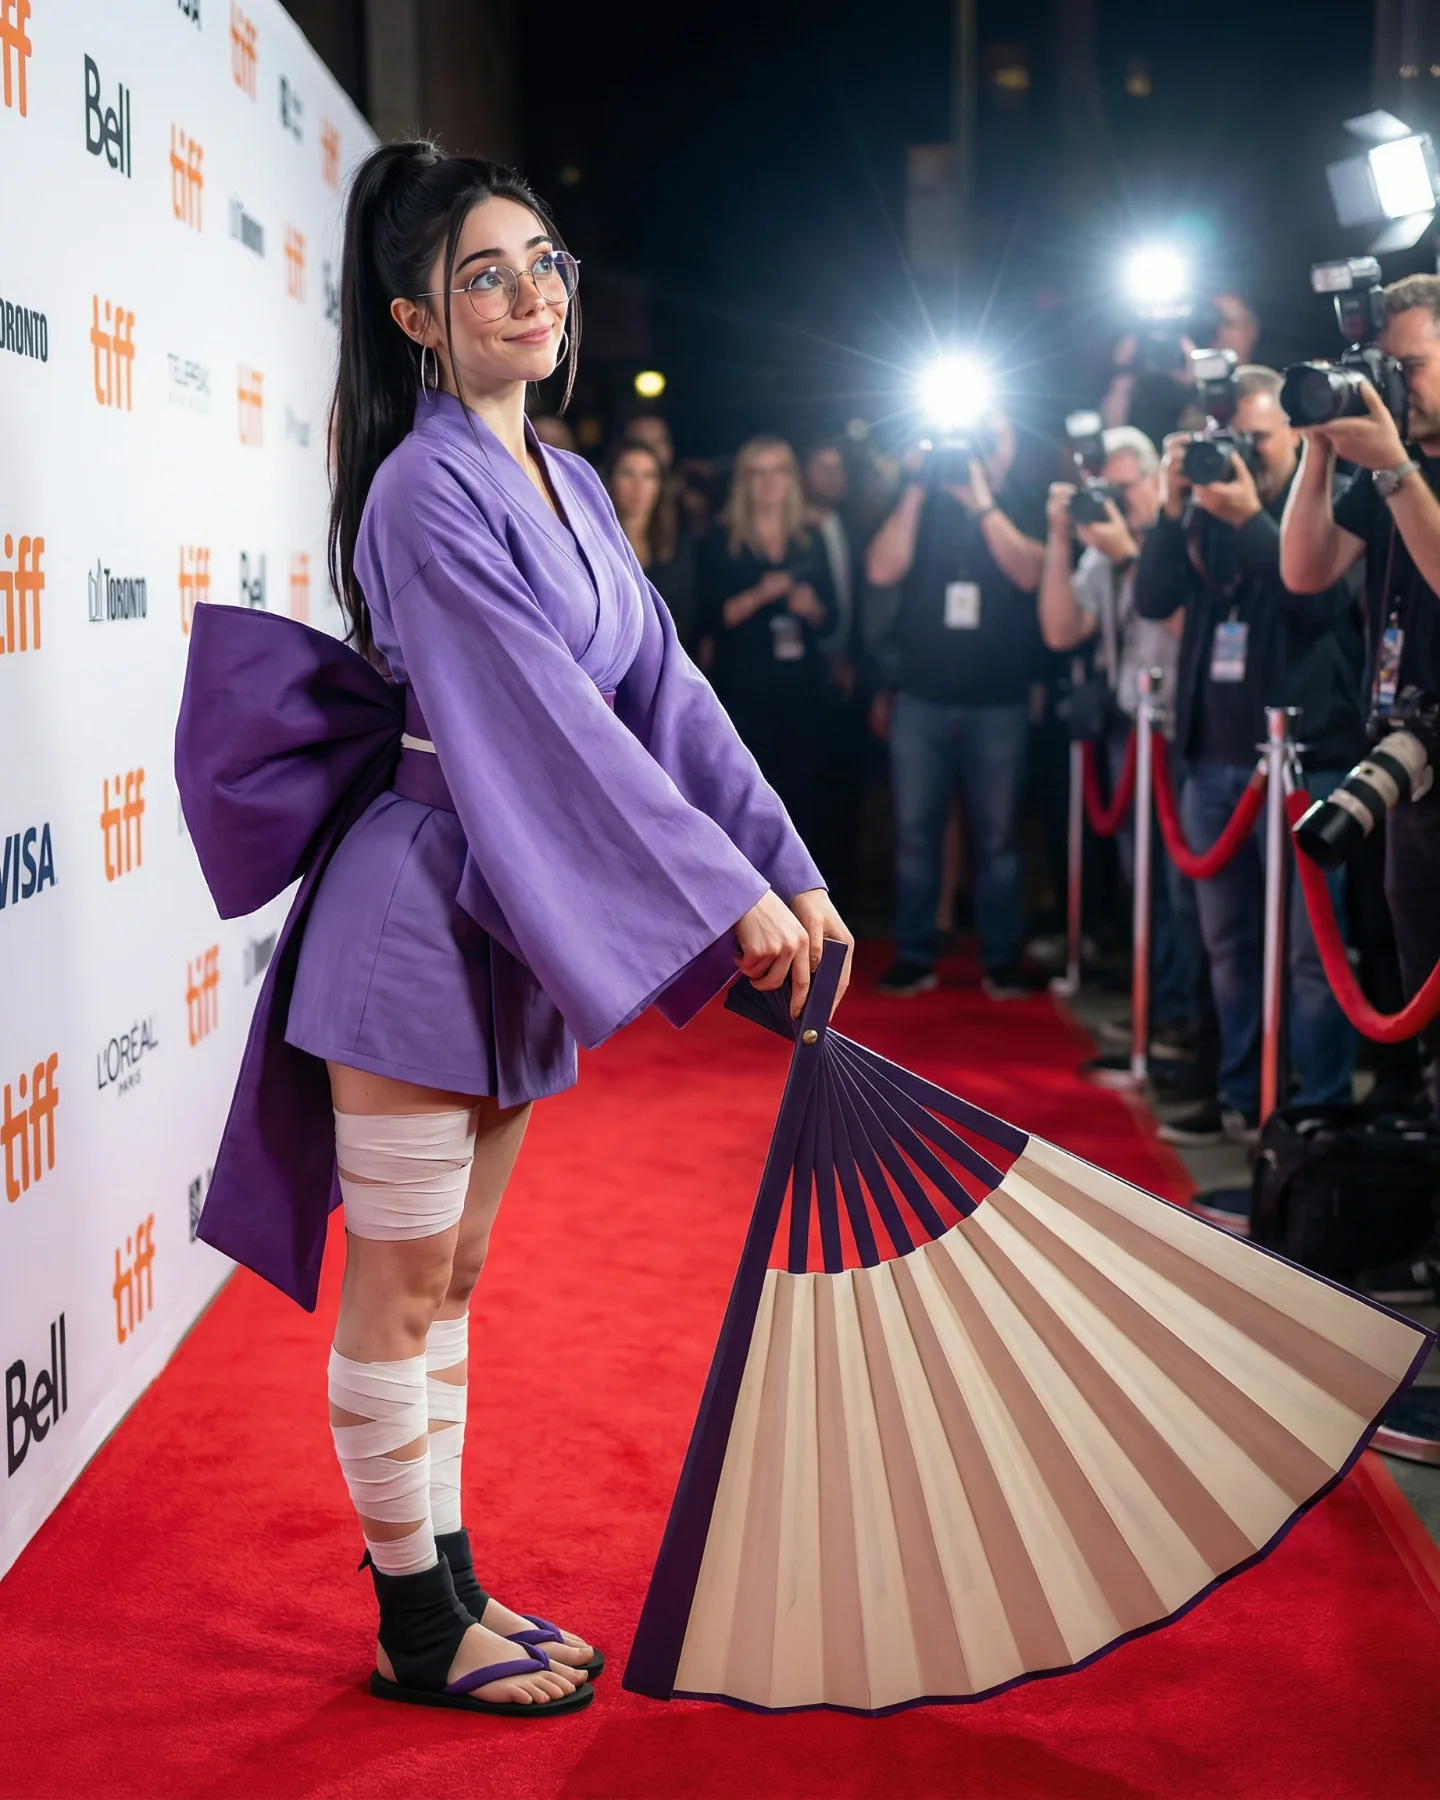
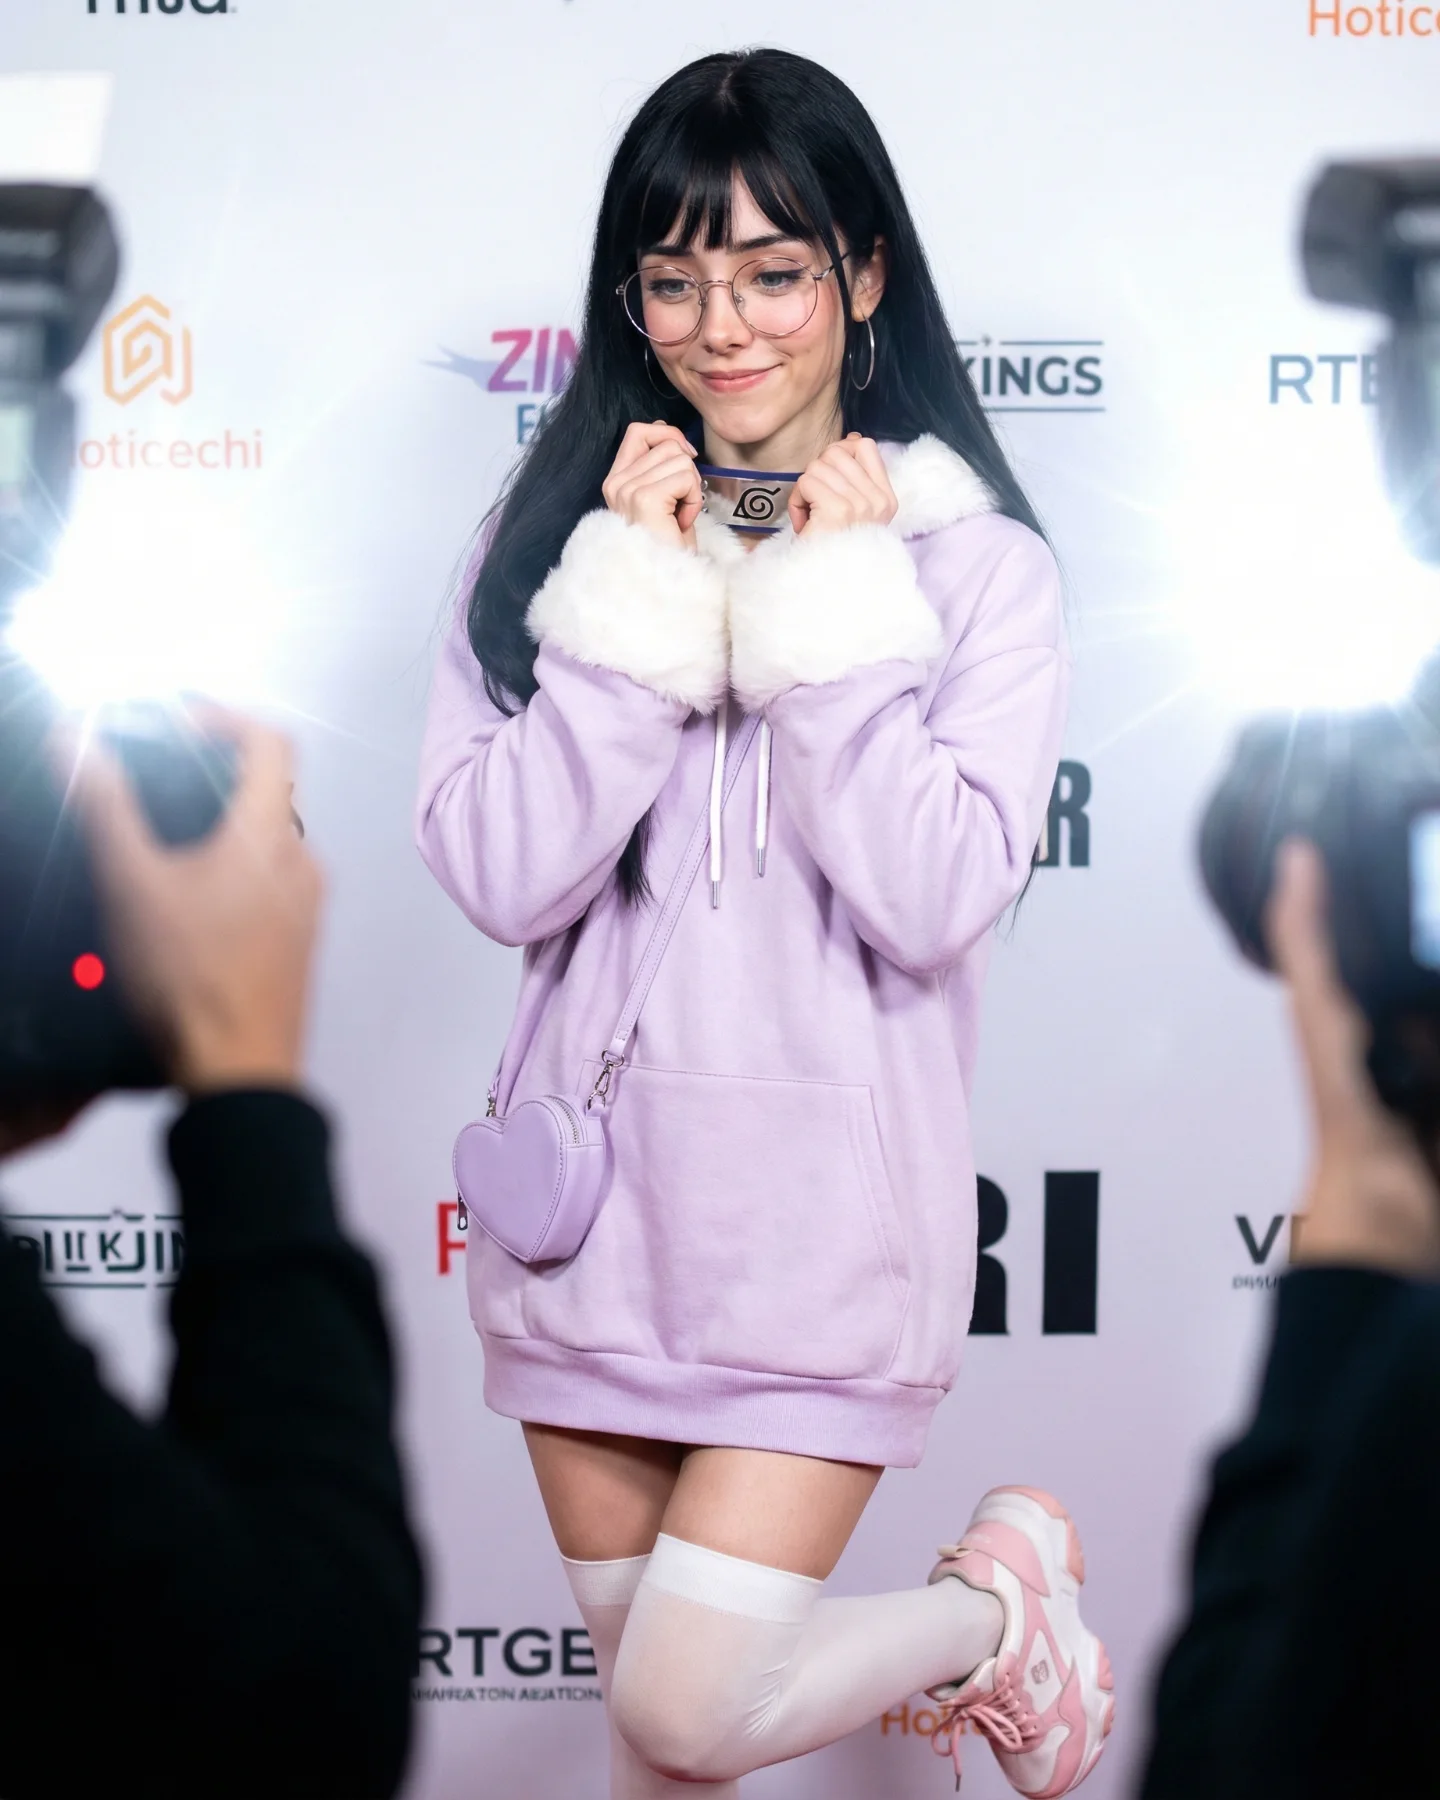
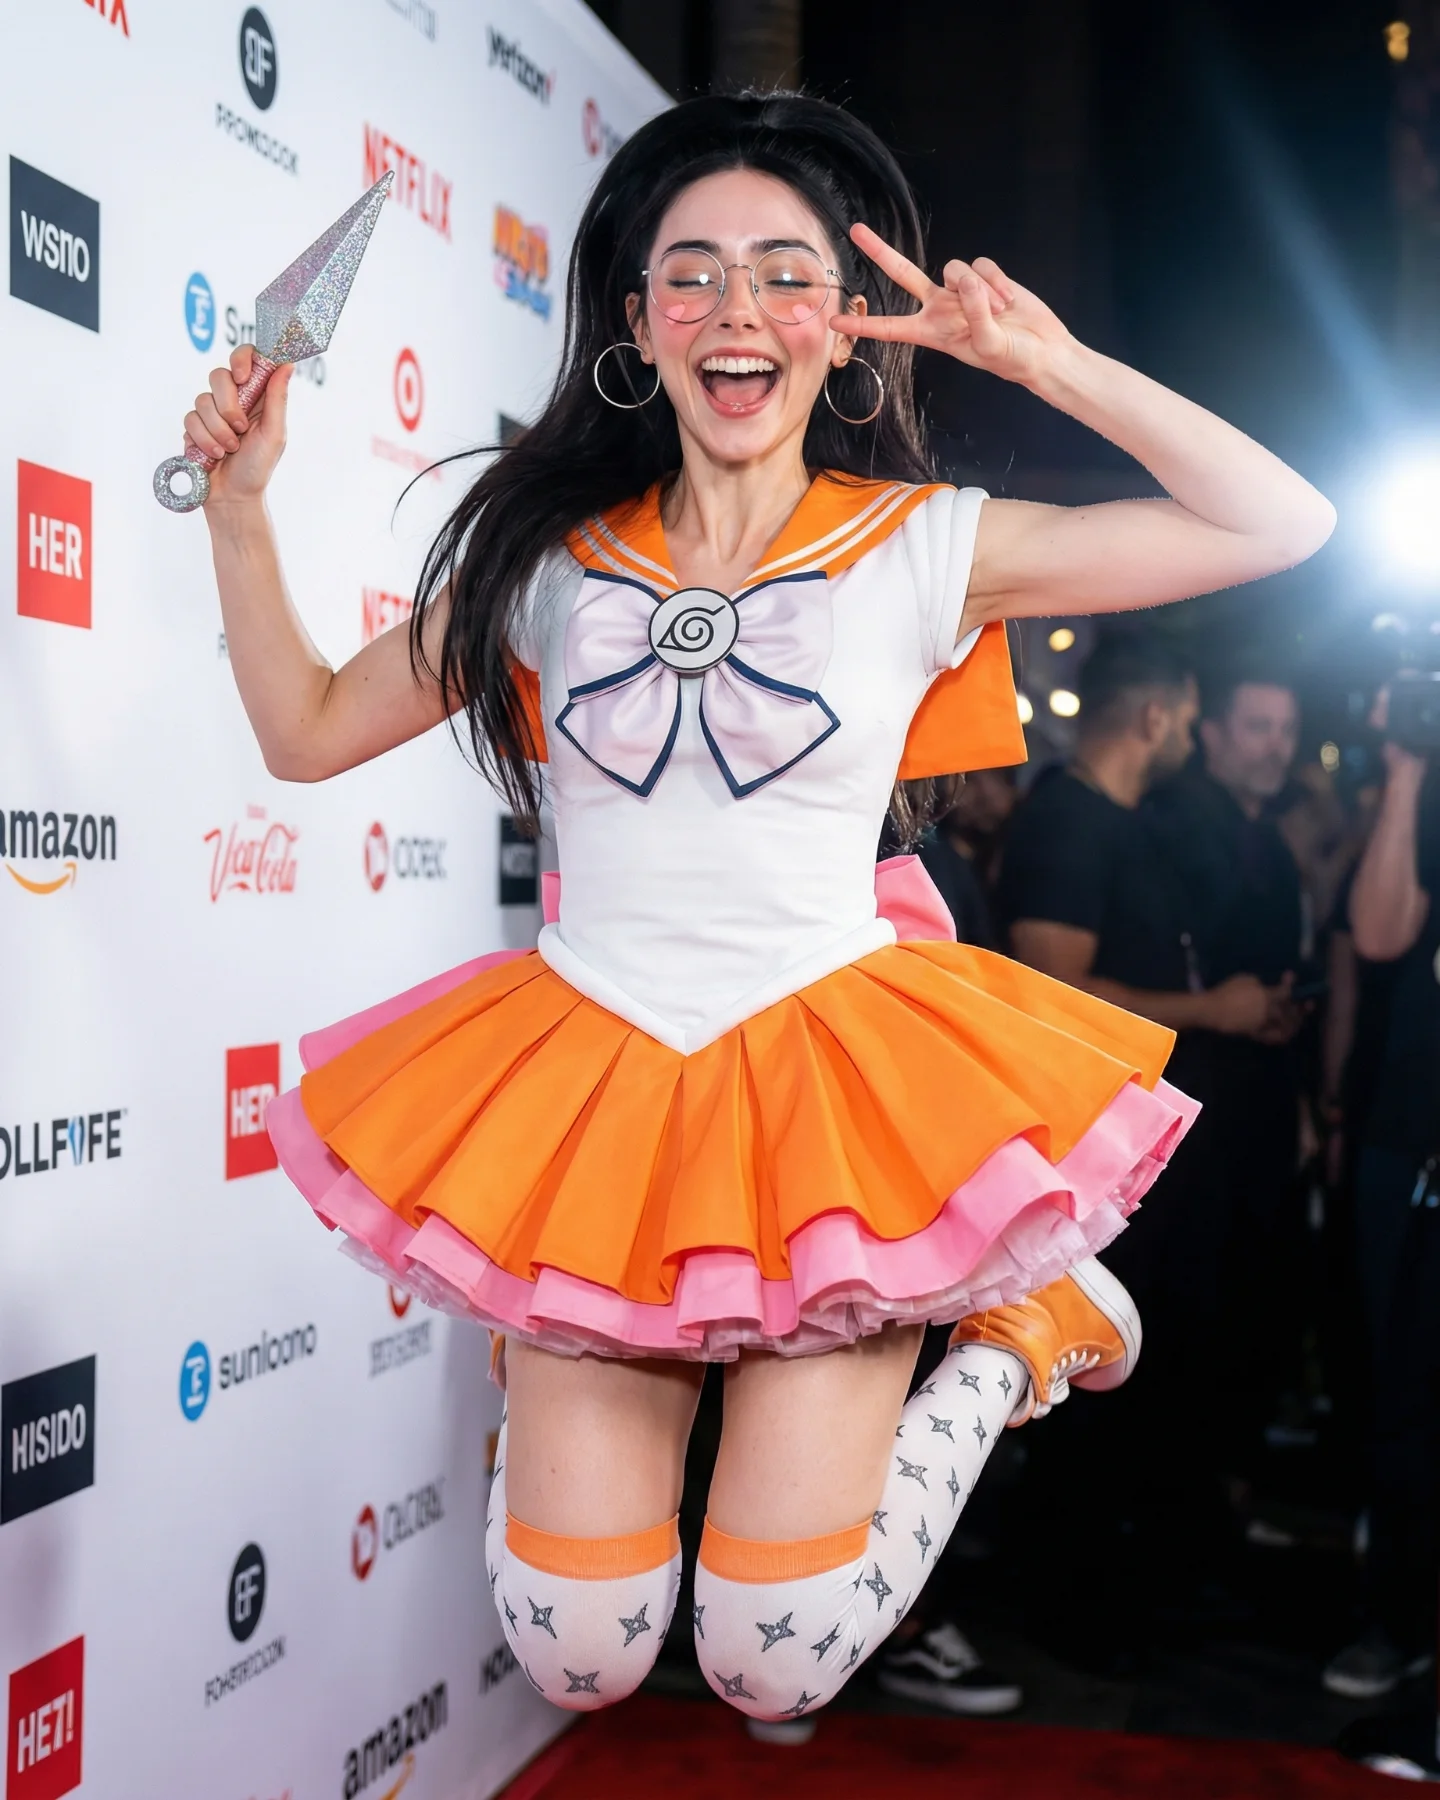
This image works because it moves anime cosplay out of the expected fan-photo environment and into a press-photo environment. That shift matters. The subject is still clearly playing with Sakura-coded visual language, but the branded wall, crowd, and camera-flash atmosphere make the image feel bigger, more public, and more status-driven. It reads less like “someone dressed up” and more like “a character made it onto the red carpet.”
The pose helps that transition. Instead of a soft portrait, the subject gives a flexing over-the-shoulder stance that communicates combat identity immediately. That is smart because Sakura is not only a pink-haired visual icon. She is also a strength-coded character. The image gets both sides right in one frame.
The biggest hook is genre collision. Anime cosplay and red-carpet photography are two very different image grammars, and combining them creates novelty instantly. Viewers recognize the fandom reference, but they also recognize celebrity-event visual language. That overlap is what makes the image feel more elevated than a normal convention corridor shot.
The second hook is shape. The flexed arms, turned torso, and lifted gloves create a strong silhouette, which makes the frame easy to read even at small size. In feed terms, that matters a lot. A clear body shape often performs better than a subtler pose when the outfit itself is already high-information.
| Signal | Evidence (from this image) | Mechanism | Replication Action |
|---|---|---|---|
| Fandom recognition | Pink hair, red outfit, headband styling, combat stance | Fans decode the character reference quickly | Keep 3-4 iconic markers visible at once instead of scattering them across frames |
| Status framing | Step-and-repeat wall, camera flash, event crowd | Transforms cosplay into something more aspirational and public-facing | Use a red-carpet or media-wall setting when you want fandom content to feel upgraded |
| Action silhouette | Both arms flexed with oversized black gloves | Strong body shape improves readability and reinforces character power | Choose a pose with one clear silhouette statement, not a generic smile-to-camera stance |
| Contrast palette | Red costume, pink hair, black gloves, white backdrop | Simple bold color separation keeps the frame clean | Use one bright costume color, one hair color cue, and one neutral backdrop |
The strongest visual decision is the neutral event wall. It removes clutter and lets the subject own the frame. Many cosplay images get buried under themed sets, but here the white backdrop and press-photo lighting create a cleaner hierarchy. That makes the wig and costume colors hit harder.
The second strong move is using real-world event lighting instead of fantasy drama. There are no battle effects, glowing powers, or theatrical overlays. That restraint lets the image sit comfortably between fandom and fashion-adjacent social content. For creators, this is a useful path when they want anime references to travel beyond hardcore fan circles.
| Observed | Why it matters for the look | How to recreate it |
|---|---|---|
| Step-and-repeat wall on one side | Installs the red-carpet visual grammar instantly | Use a media-wall surface as the main background anchor |
| Press-style flash from the right | Adds event realism and subject clarity | Light the scene like a live entertainment photo, not a fantasy shoot |
| Pink hair against white backdrop | Improves immediate character recognition | Keep the background clean when the hair color is one of the main signals |
| Chunky black gloves | Carry the character’s strength cue visually | Use one oversized prop or garment element to define the pose |
| Turned-back pose | Combines style attitude with combat identity | Angle the torso away while keeping face and eyes engaged with the camera |
This approach is weaker if the event context disappears or if the pose becomes too generic. It also loses clarity when too many props are added, because the strength of the frame is its clean graphic read.
{character-coded cosplay} {press-photo environment} {single strong pose} {clean backdrop}{fandom look} {public event framing} {hero silhouette element} {flash photography}{red-carpet cosplay portrait} {color-coded wig} {statement pose} {real audience presence}To recreate this style reliably, separate the prompt into event grammar, character markers, silhouette pose, and color hierarchy. If those layers are too vague, the model usually drifts into either generic cosplay portraiture or full fantasy action art.
| Prompt chunk | What it controls | Swap ideas (EN, 2–3 options) |
|---|---|---|
| Sakura-inspired pink ponytail cosplay on a red carpet | Core fandom-plus-event concept | anime character at premiere; cosplay celebrity-wall shot; media-ready fandom portrait |
| red sleeveless outfit and black padded gloves | Hero styling and power cue | combat-coded costume; stylized gloves; strength-signaling silhouette piece |
| over-the-shoulder flex pose | Readability and body-language impact | turned-back stance; flexed-arm portrait; confident combat pose |
| white step-and-repeat wall and flash crowd | Red-carpet visual grammar | press backdrop; event sponsor wall; media-line environment |
| pink hair plus glasses | Identity specificity | recognizable wig cue; everyday-person detail within cosplay; personal marker contrast |
| bright entertainment-event lighting | Photographic realism | press-photo flash; premiere-lighting look; live-event photo clarity |
Lock three things first: the event backdrop, the character’s key color markers, and the silhouette pose. Those are the backbone of the frame. After that, change only one layer at a time. If you swap character, background, and pose all at once, the image often loses the upgraded “cosplay meets press photo” effect.
If the result becomes too fan-floor casual, strengthen the step-and-repeat and flash cues. If it becomes too glossy, reduce editorial language and keep more crowd reality in the background. The best version feels like a real event photo that just happens to contain a very smart piece of character styling.