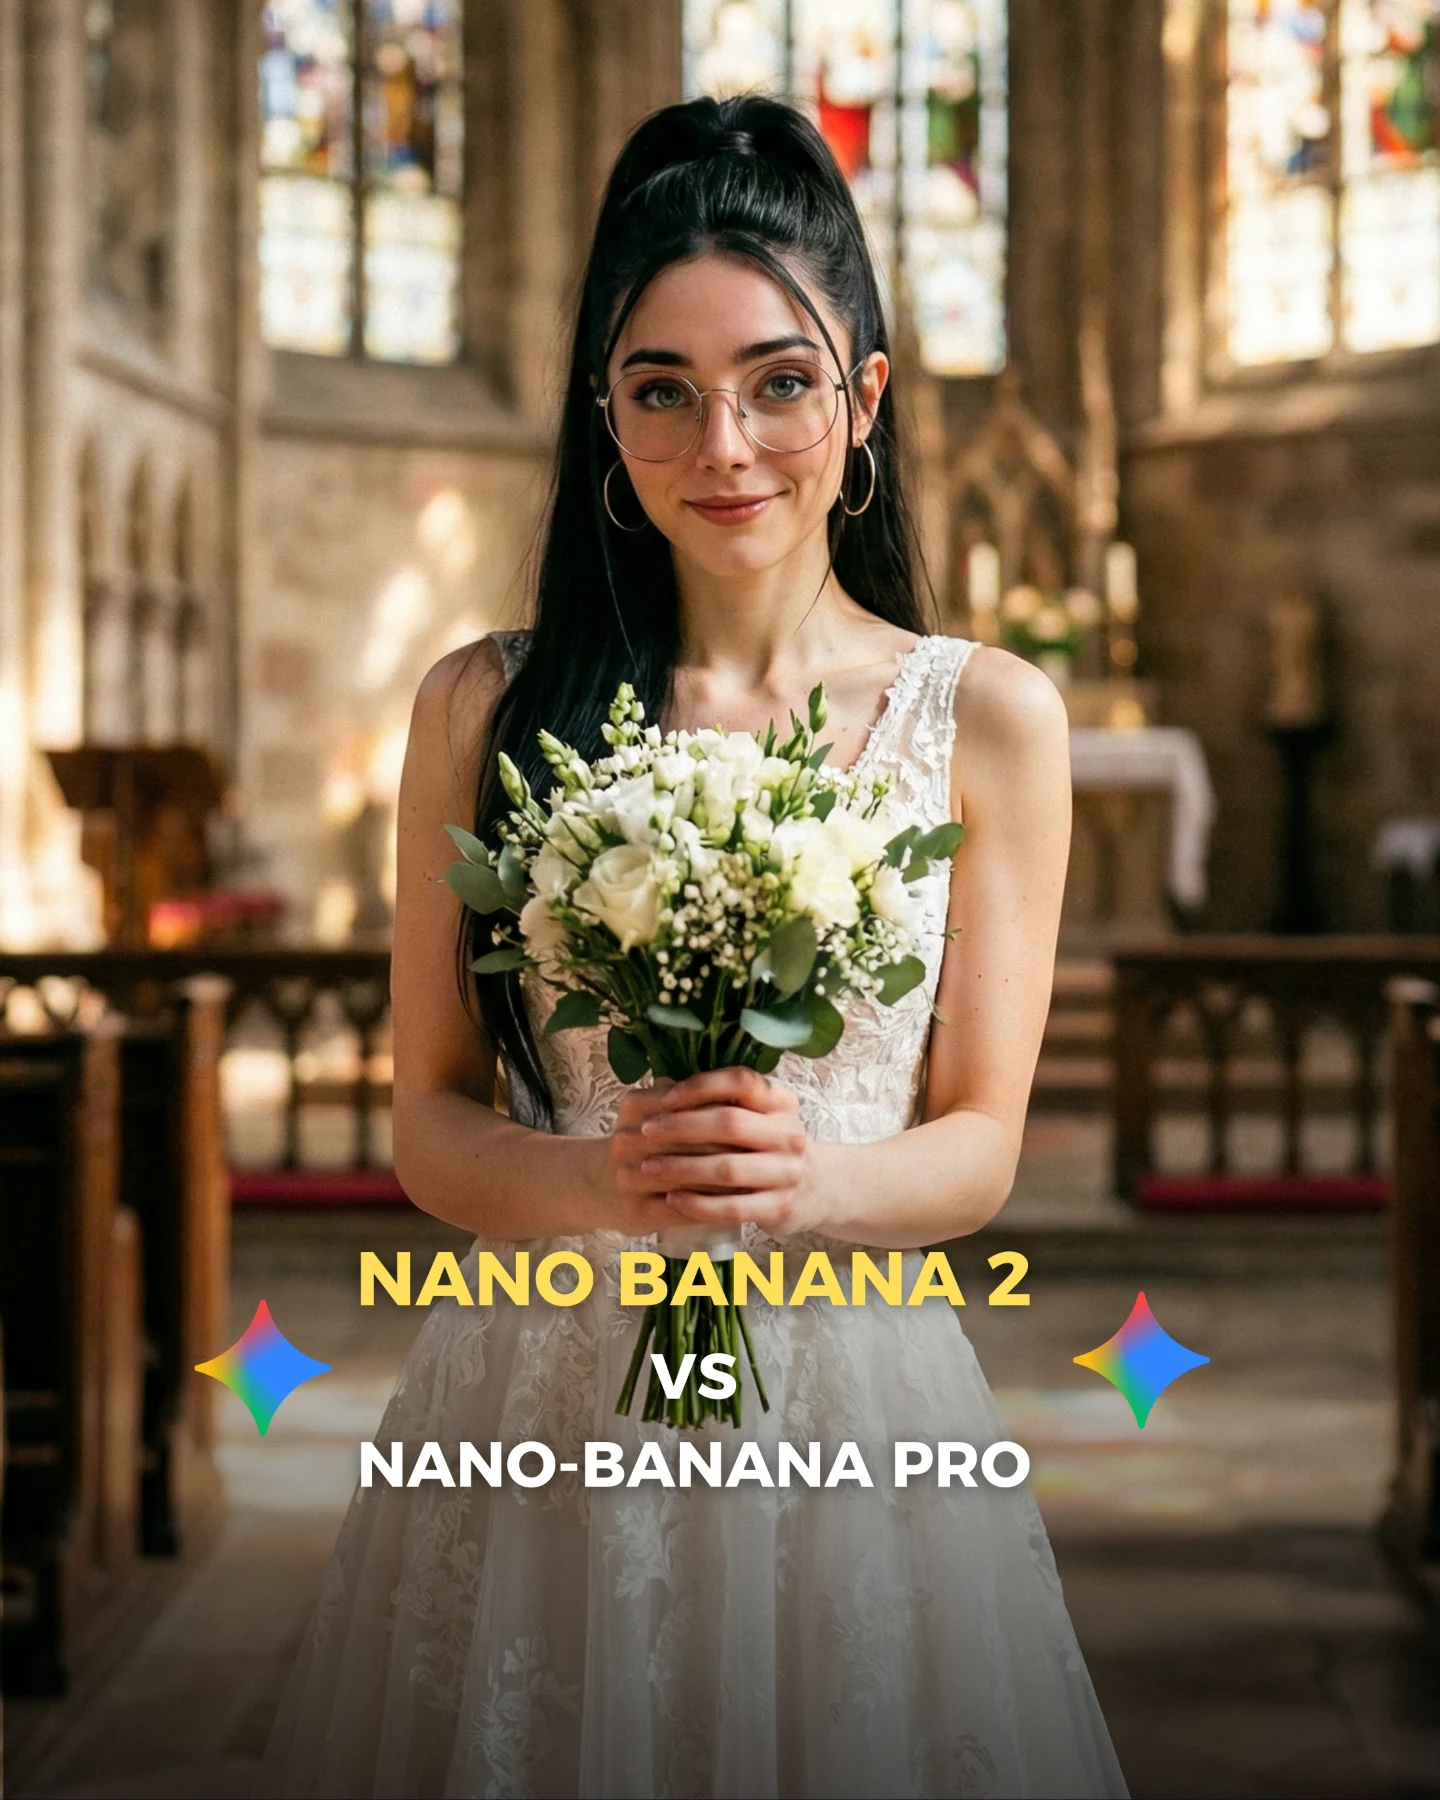
Nano Banana 2 Vs. Nano Banana PRO 💥
Google acaba de lanzar un nuevo generador de imágenes... Lleva un 2 pero no significa que sea mejor que el Pro 👀 (No es Nano Banana Pro 2)
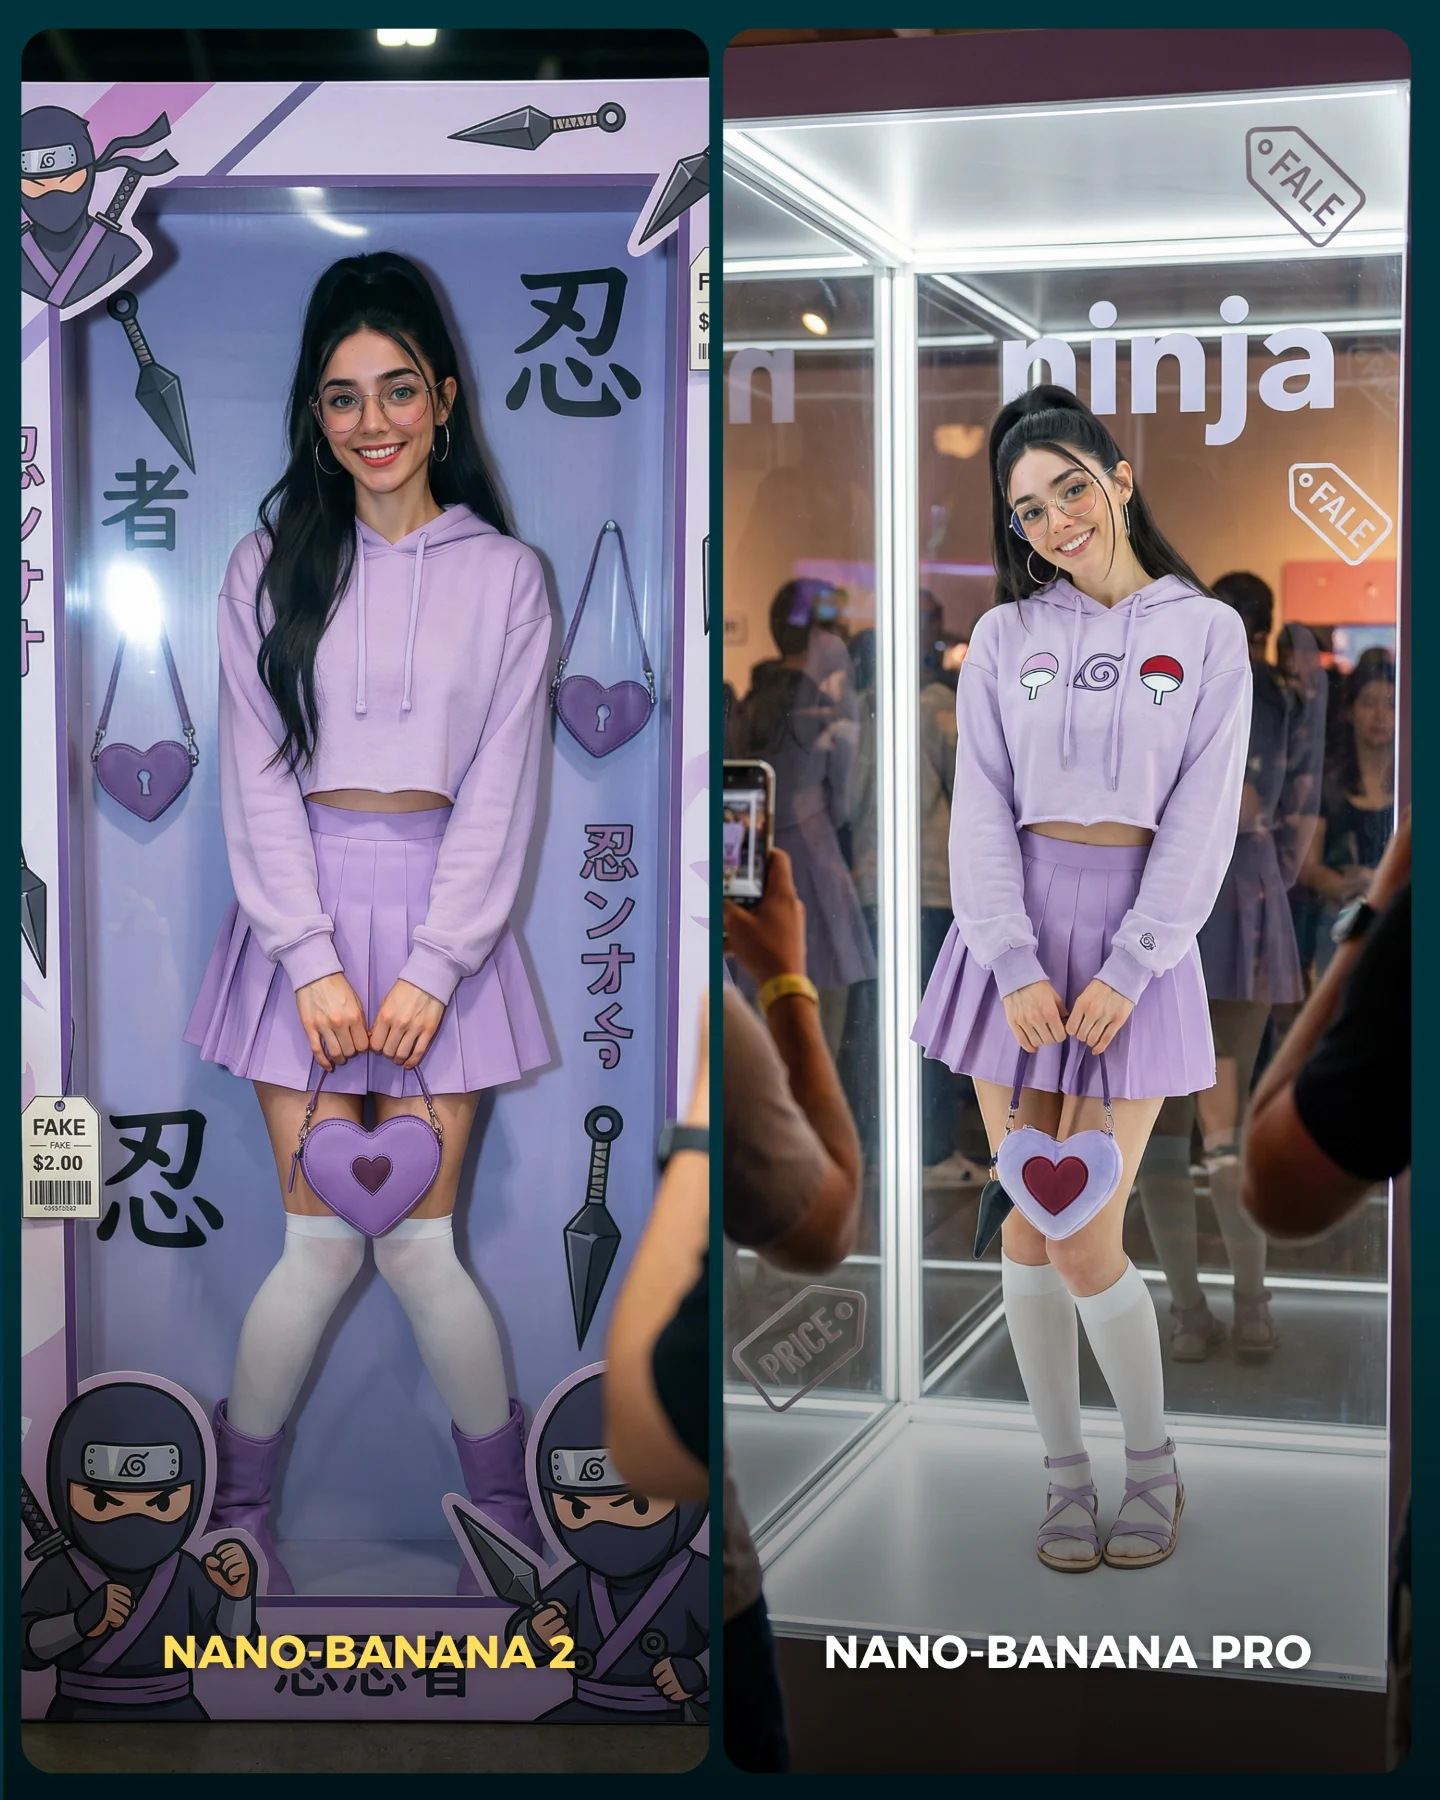
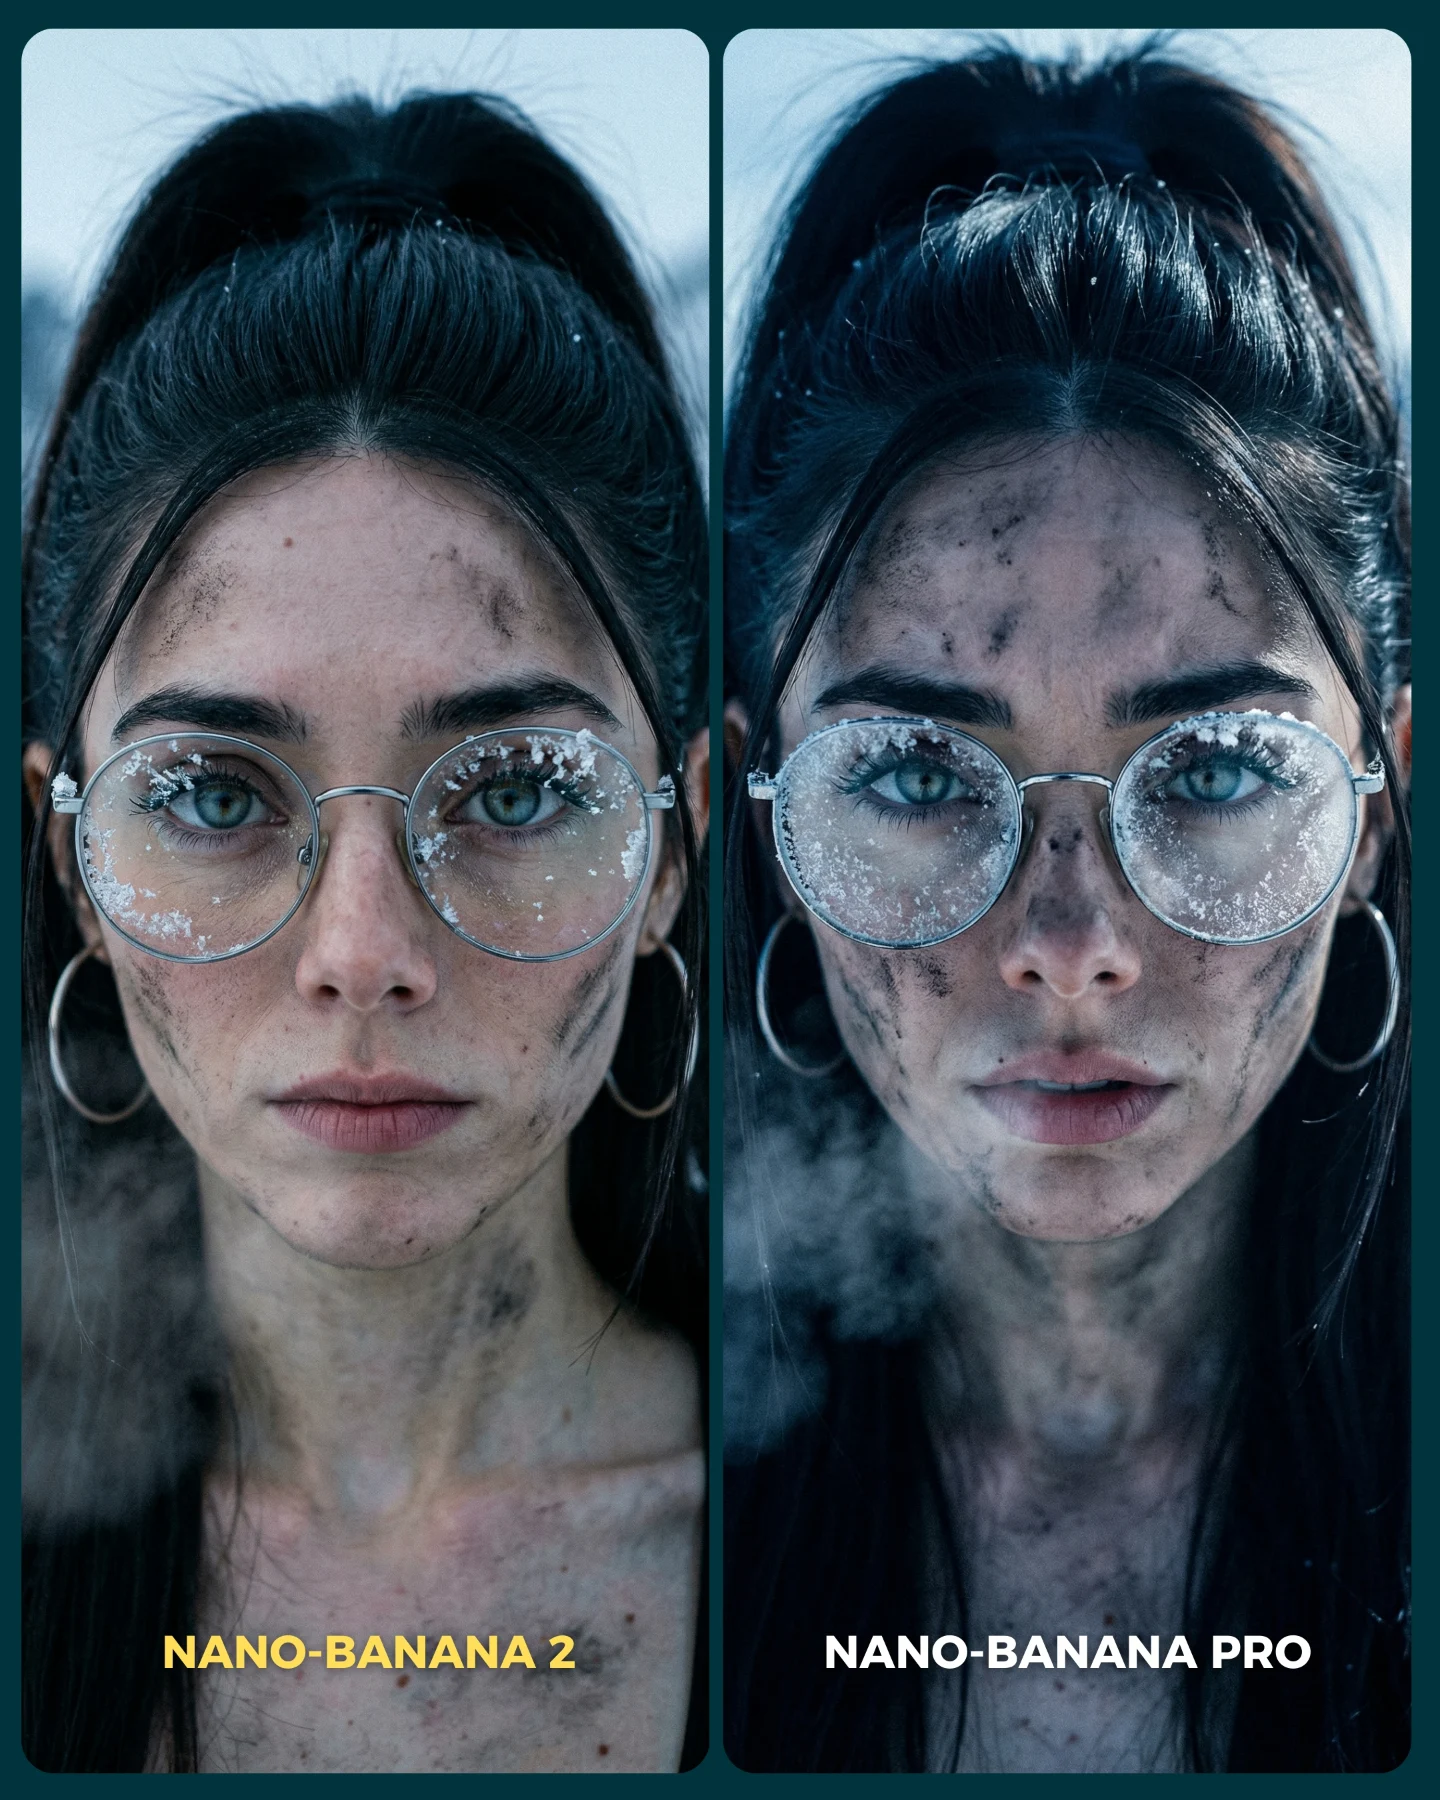
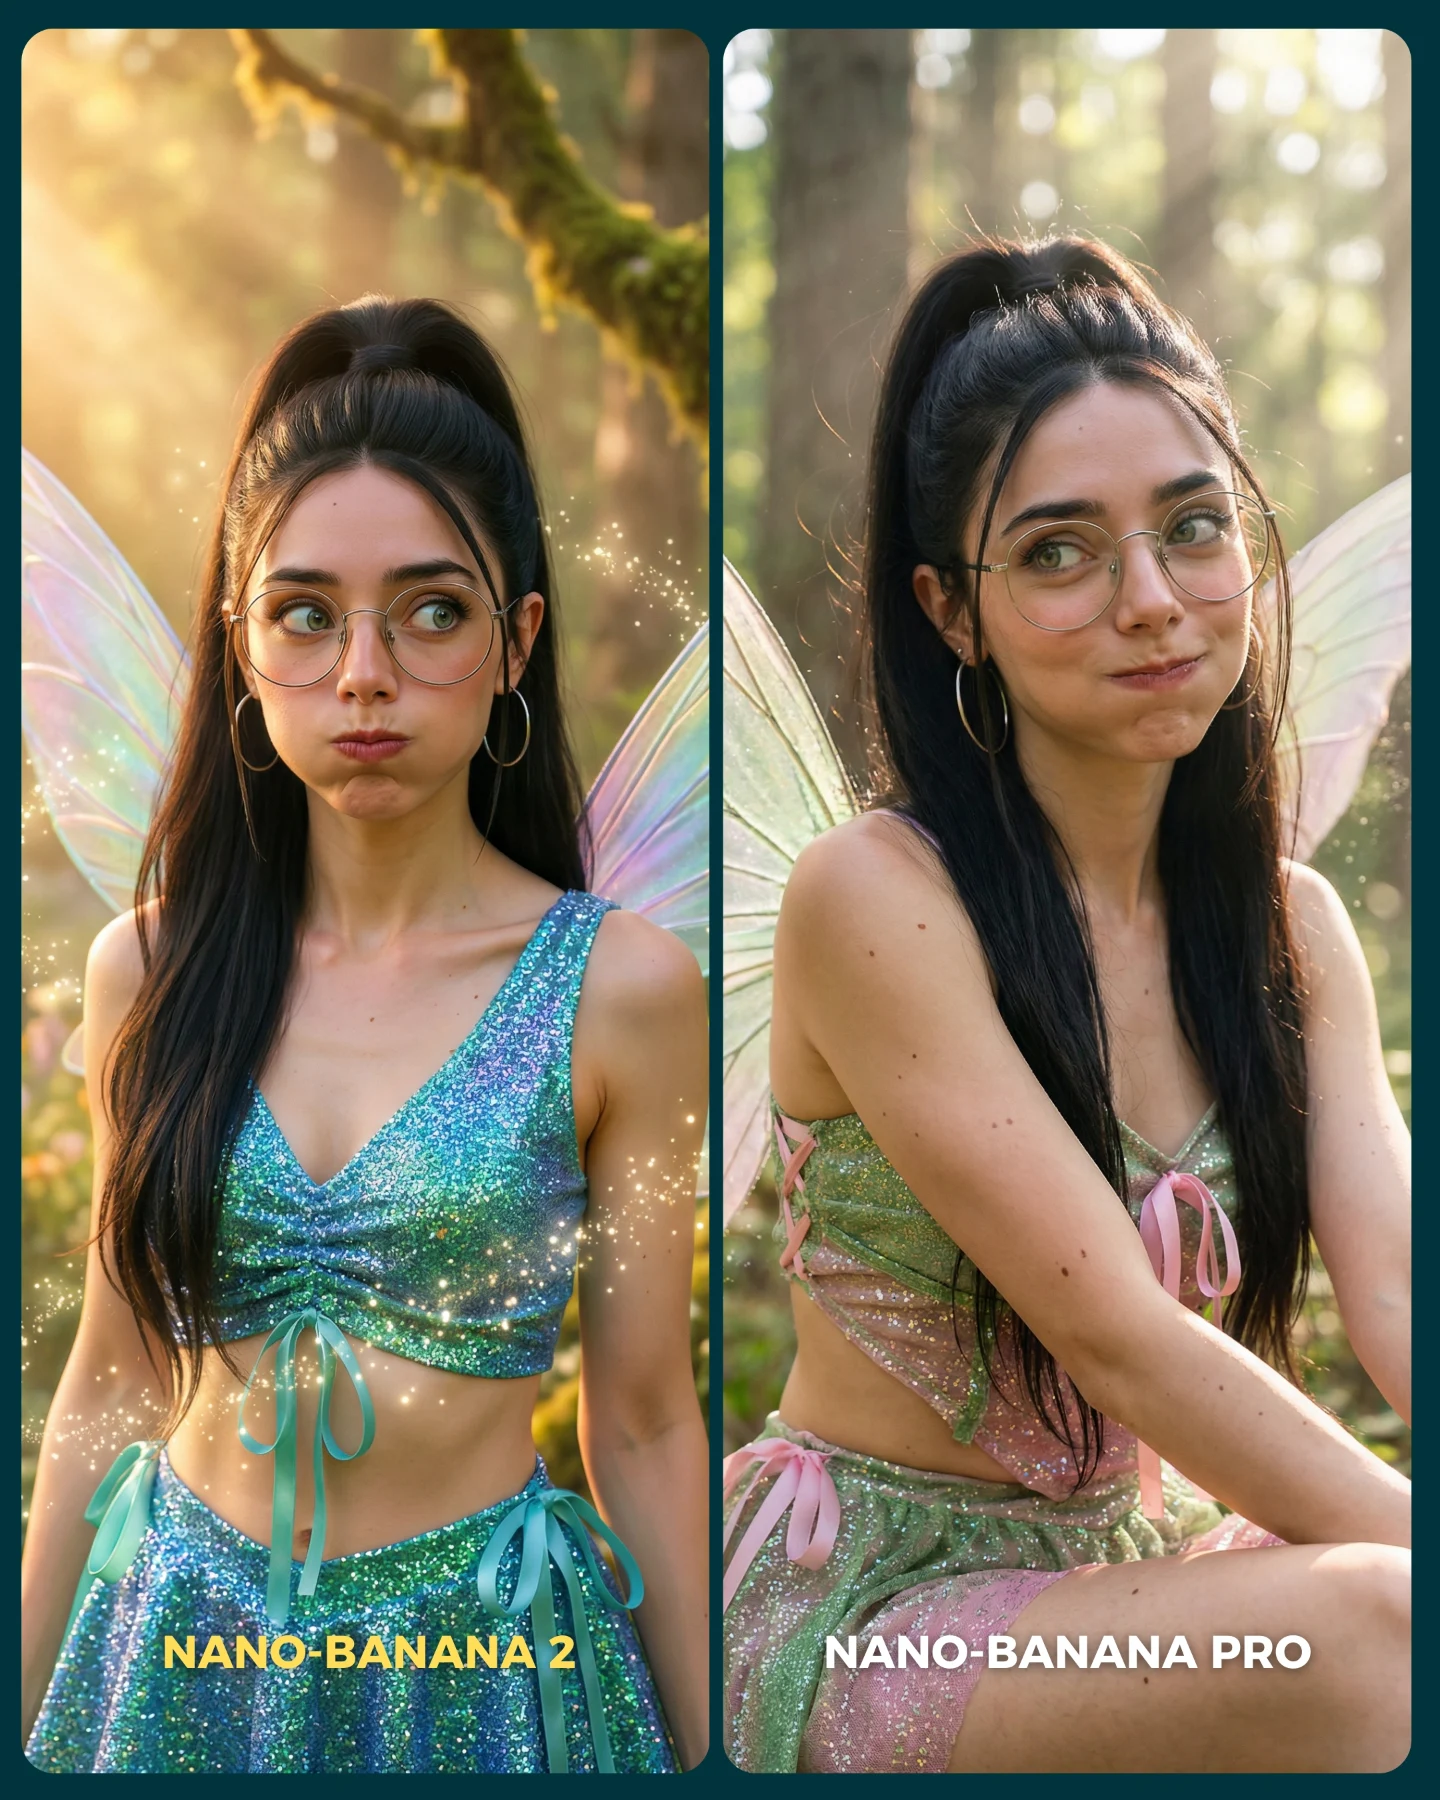
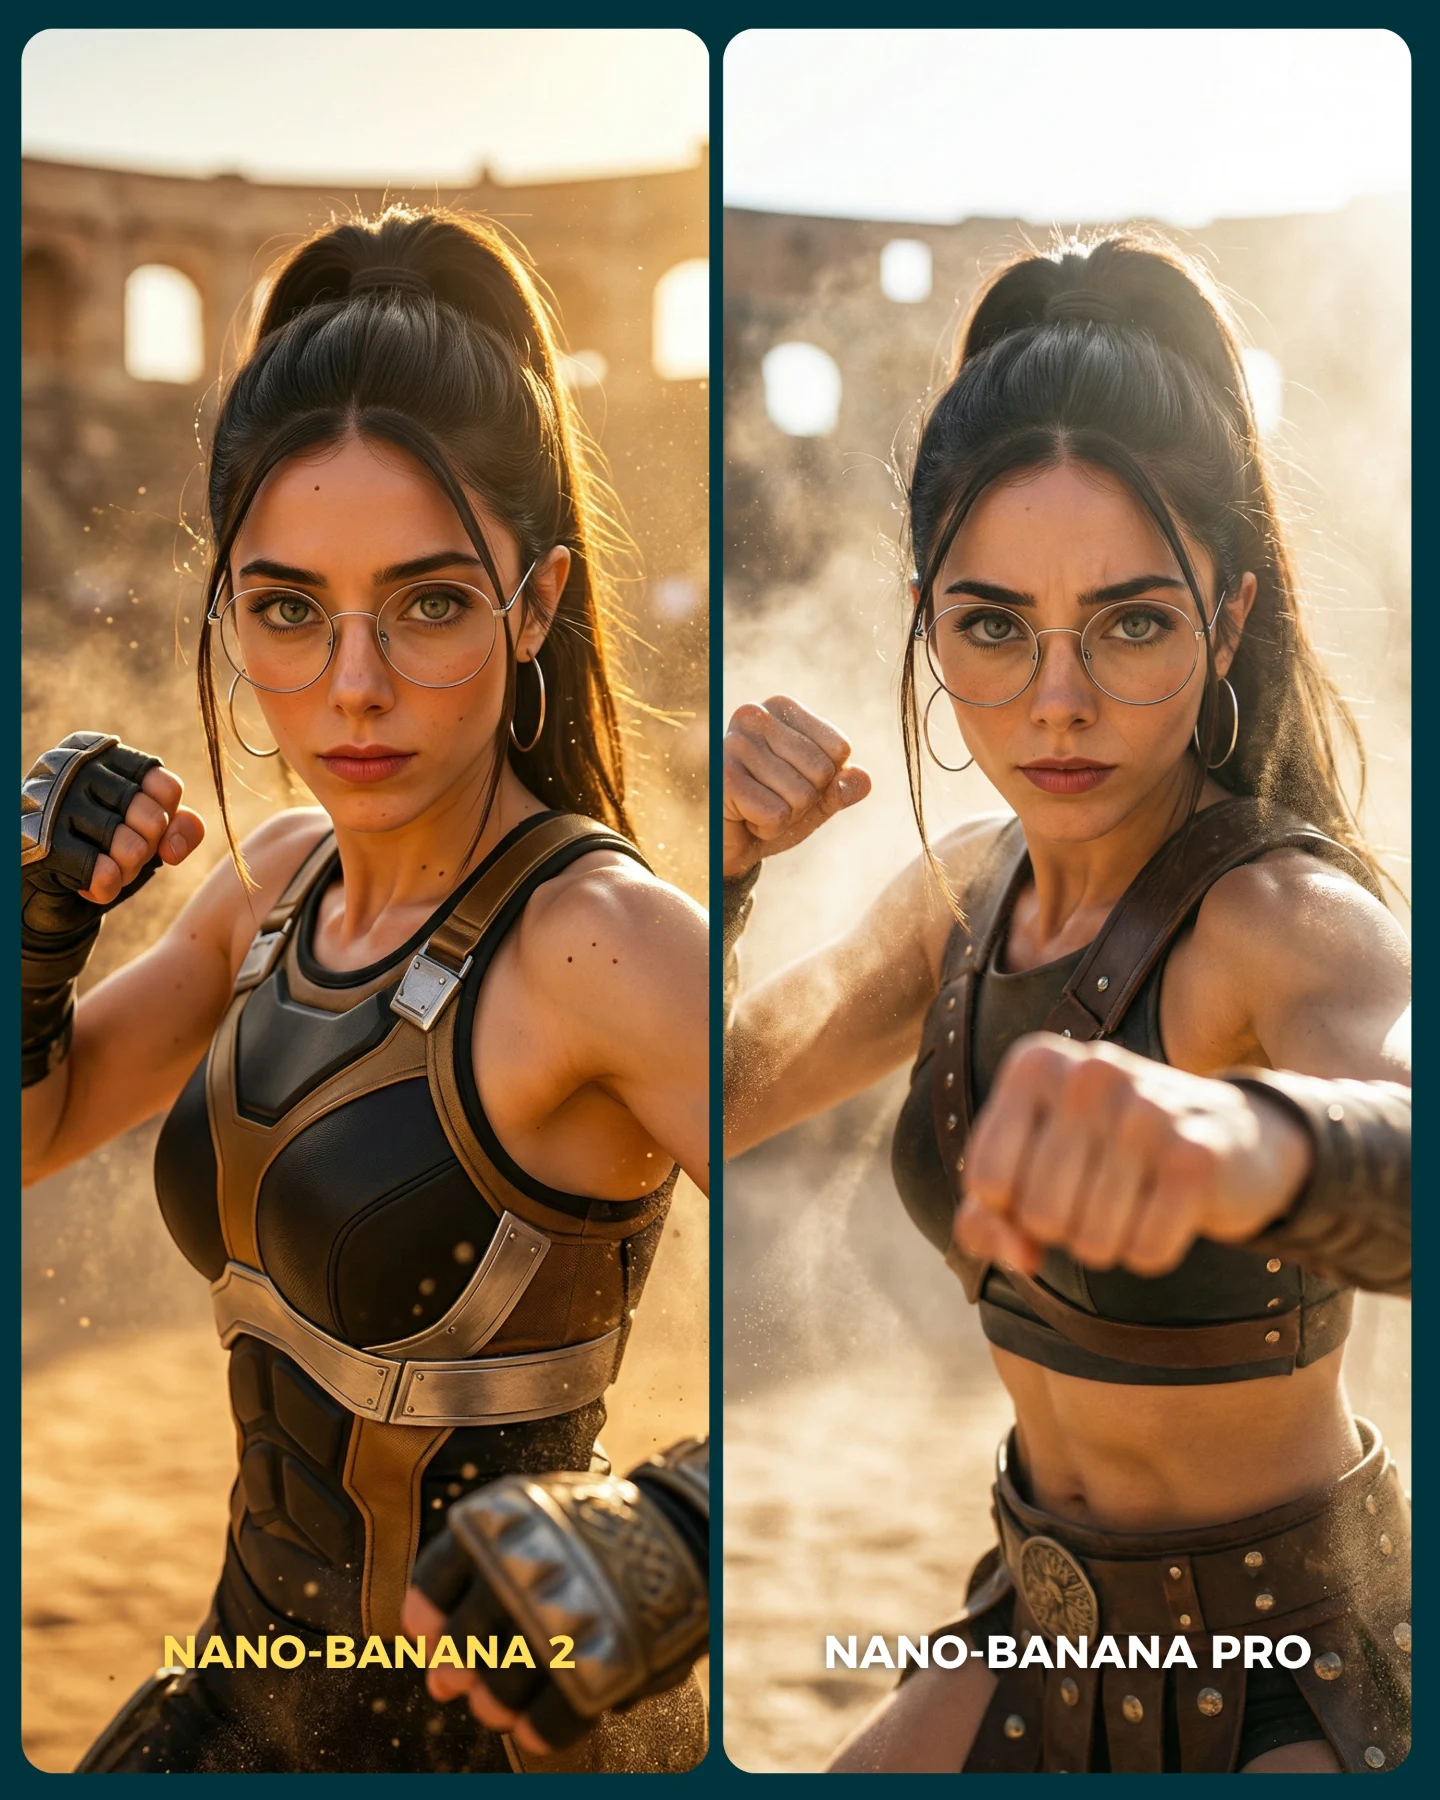
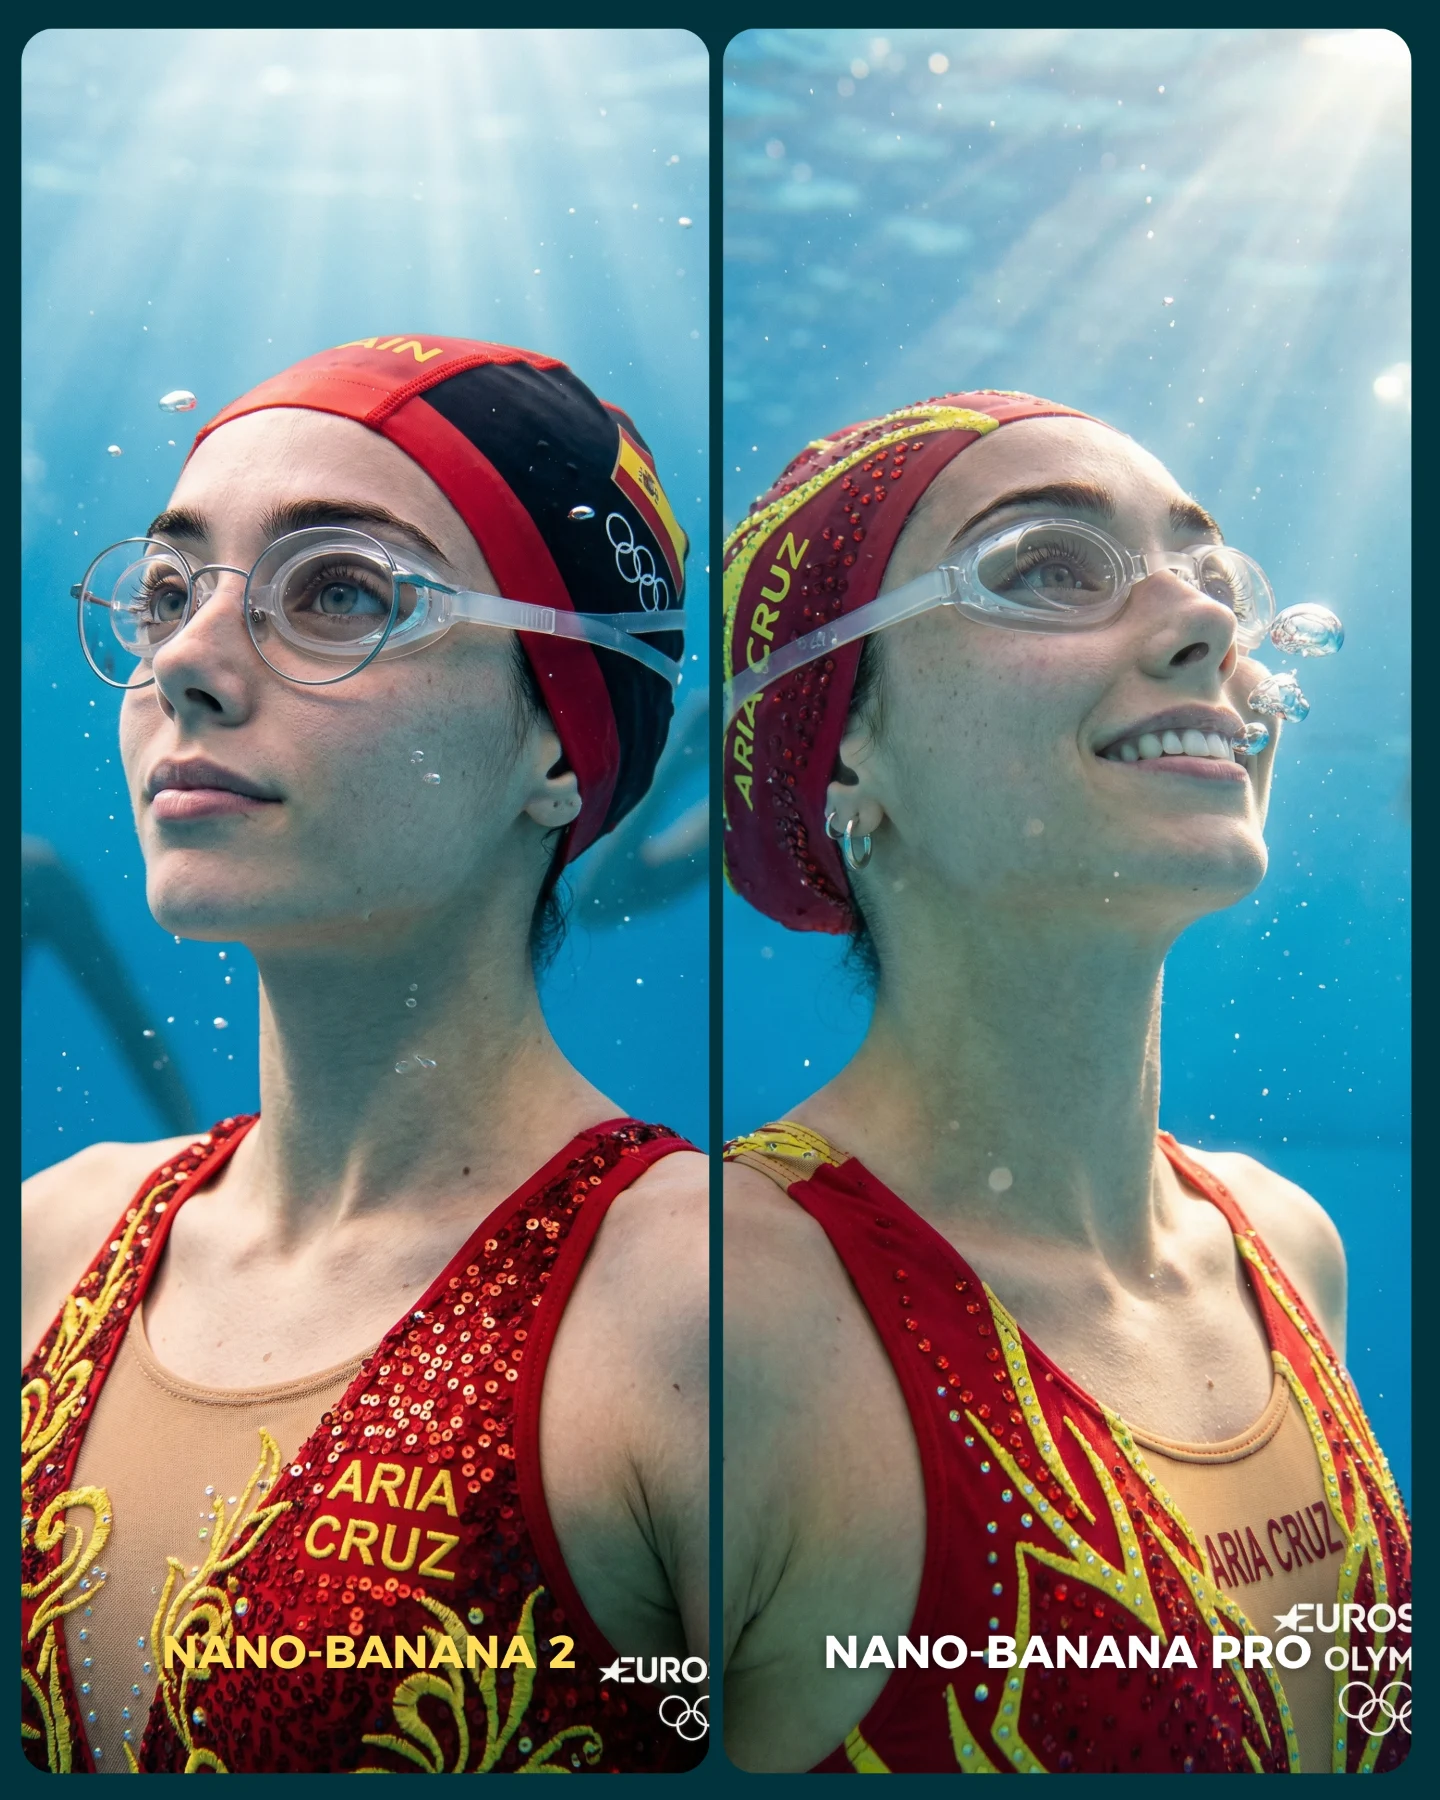
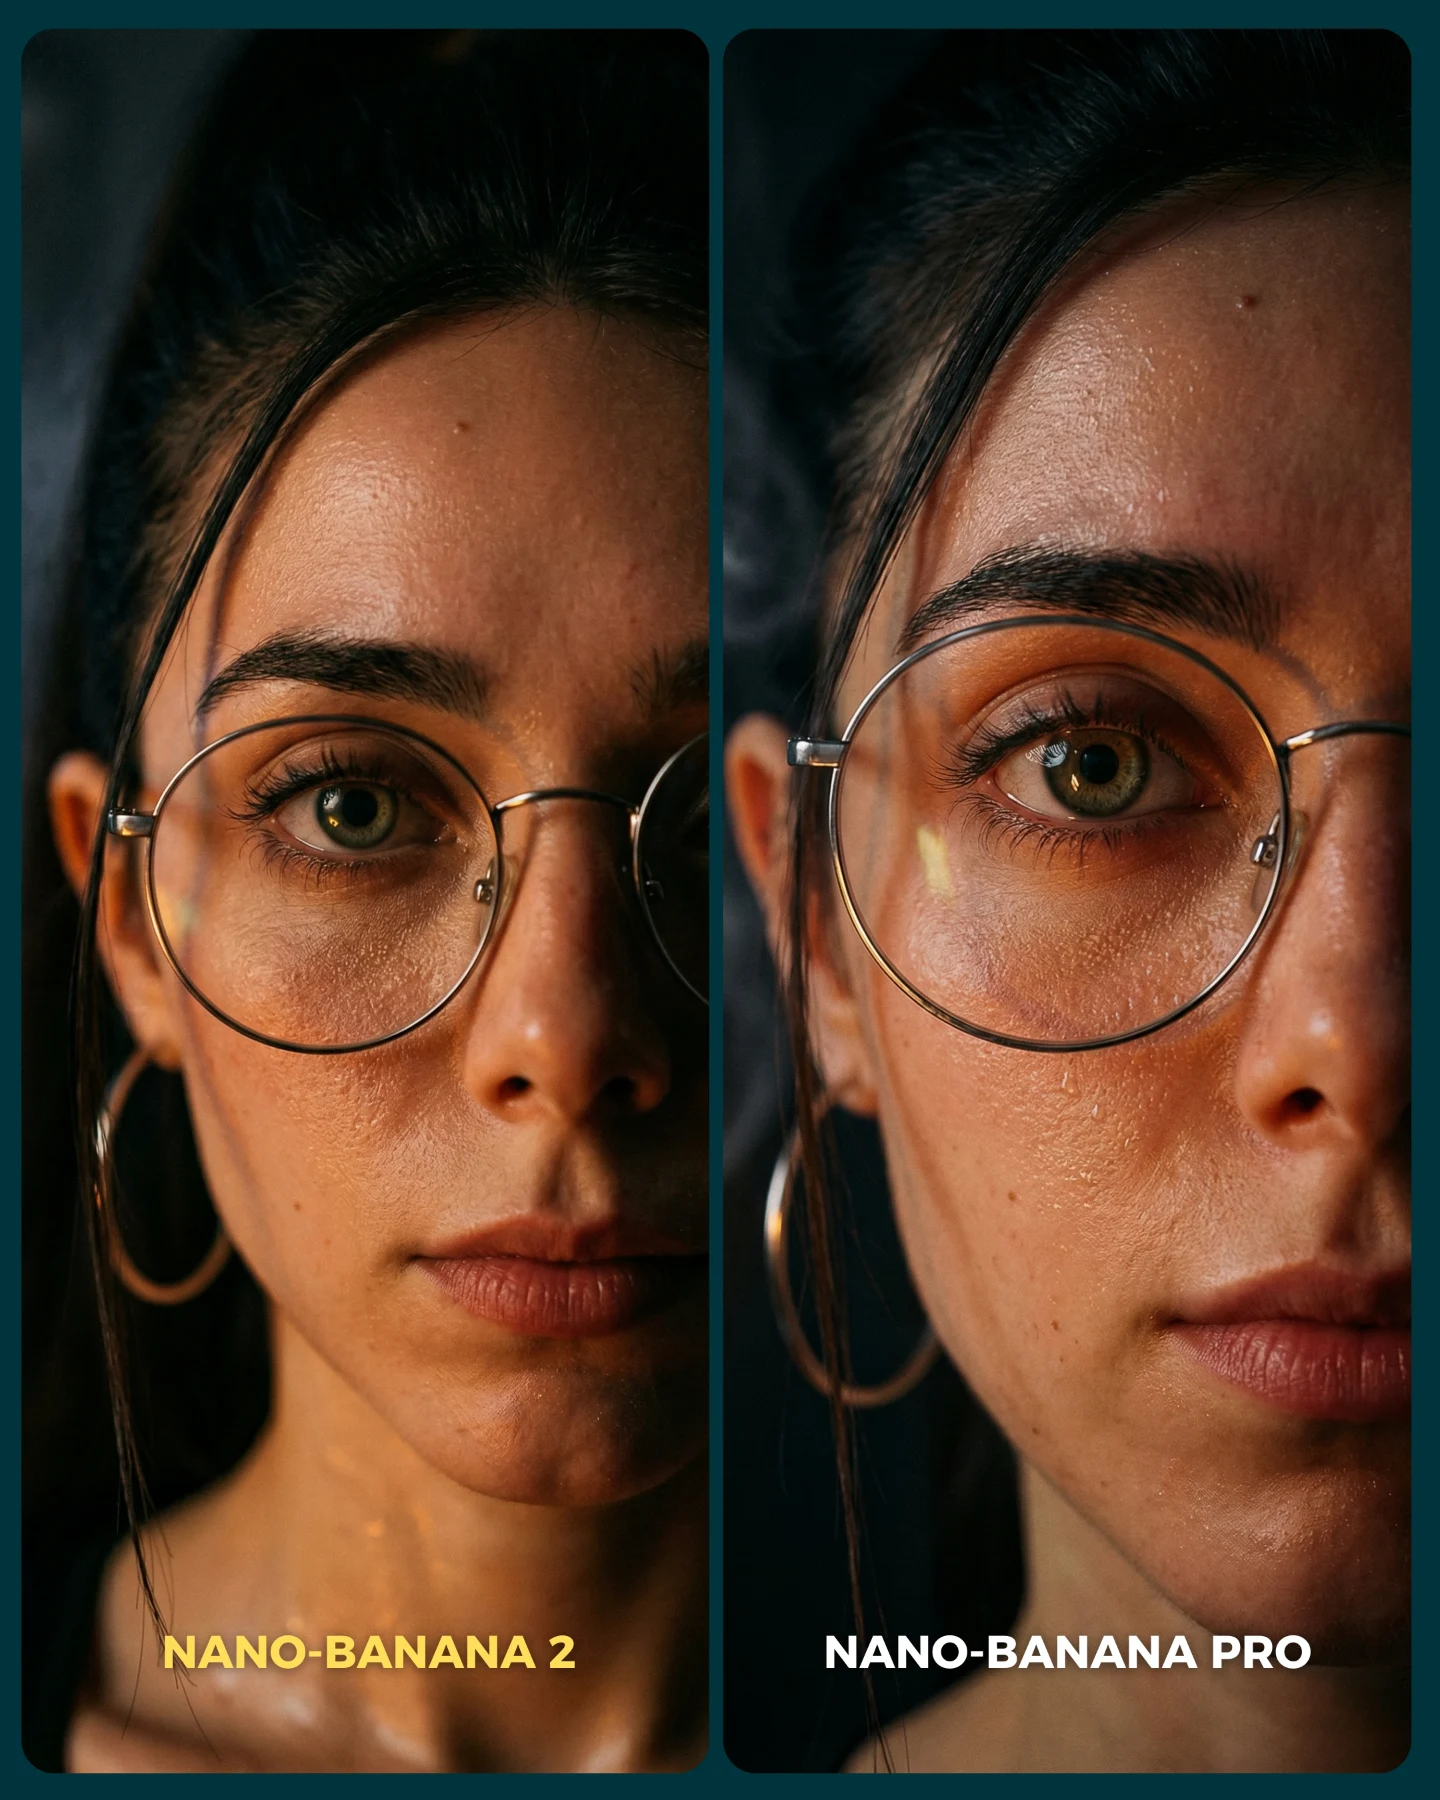
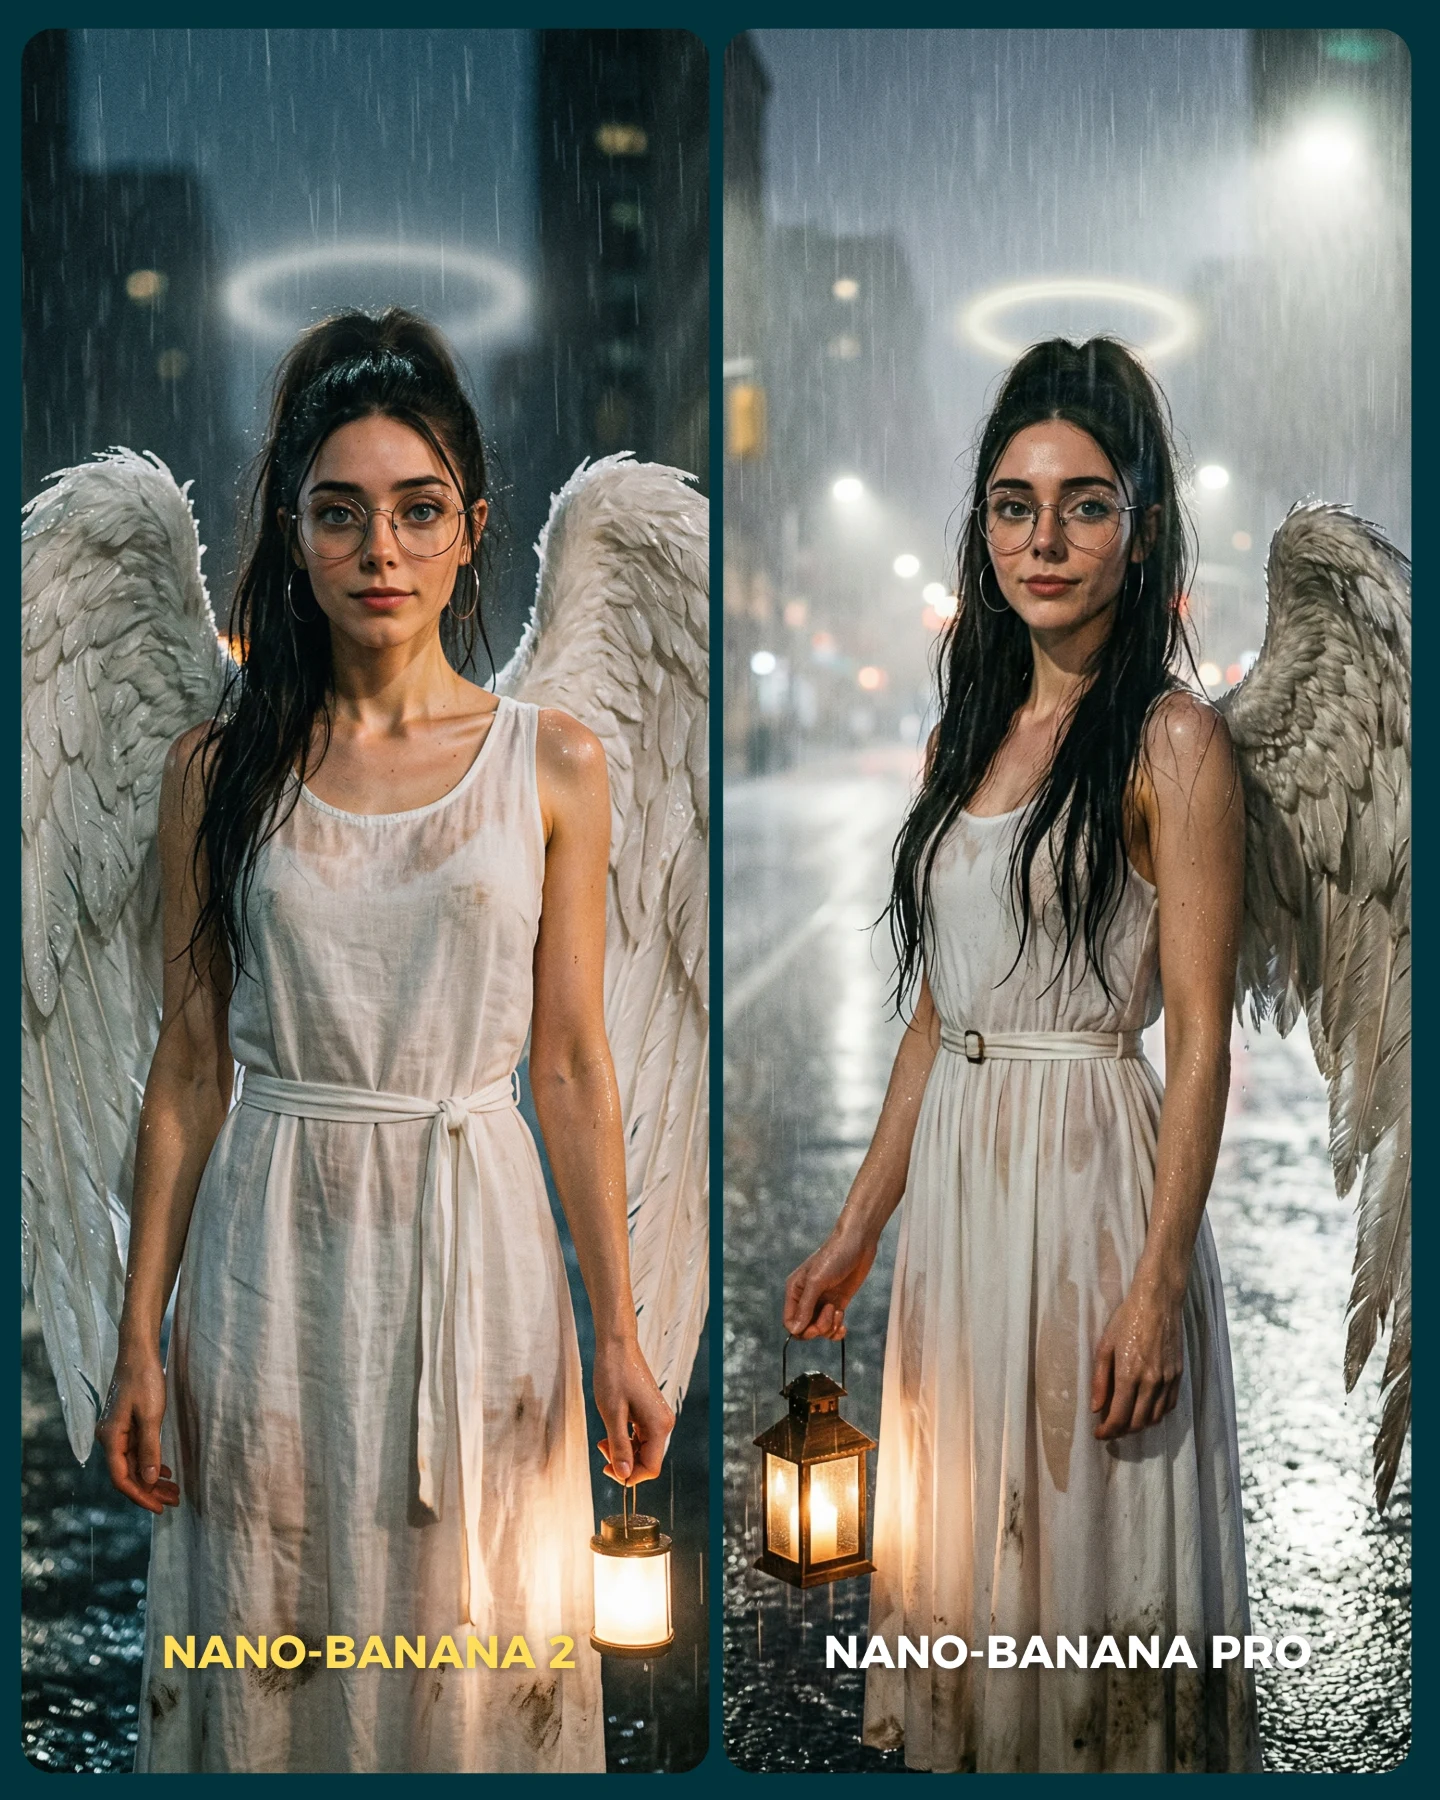
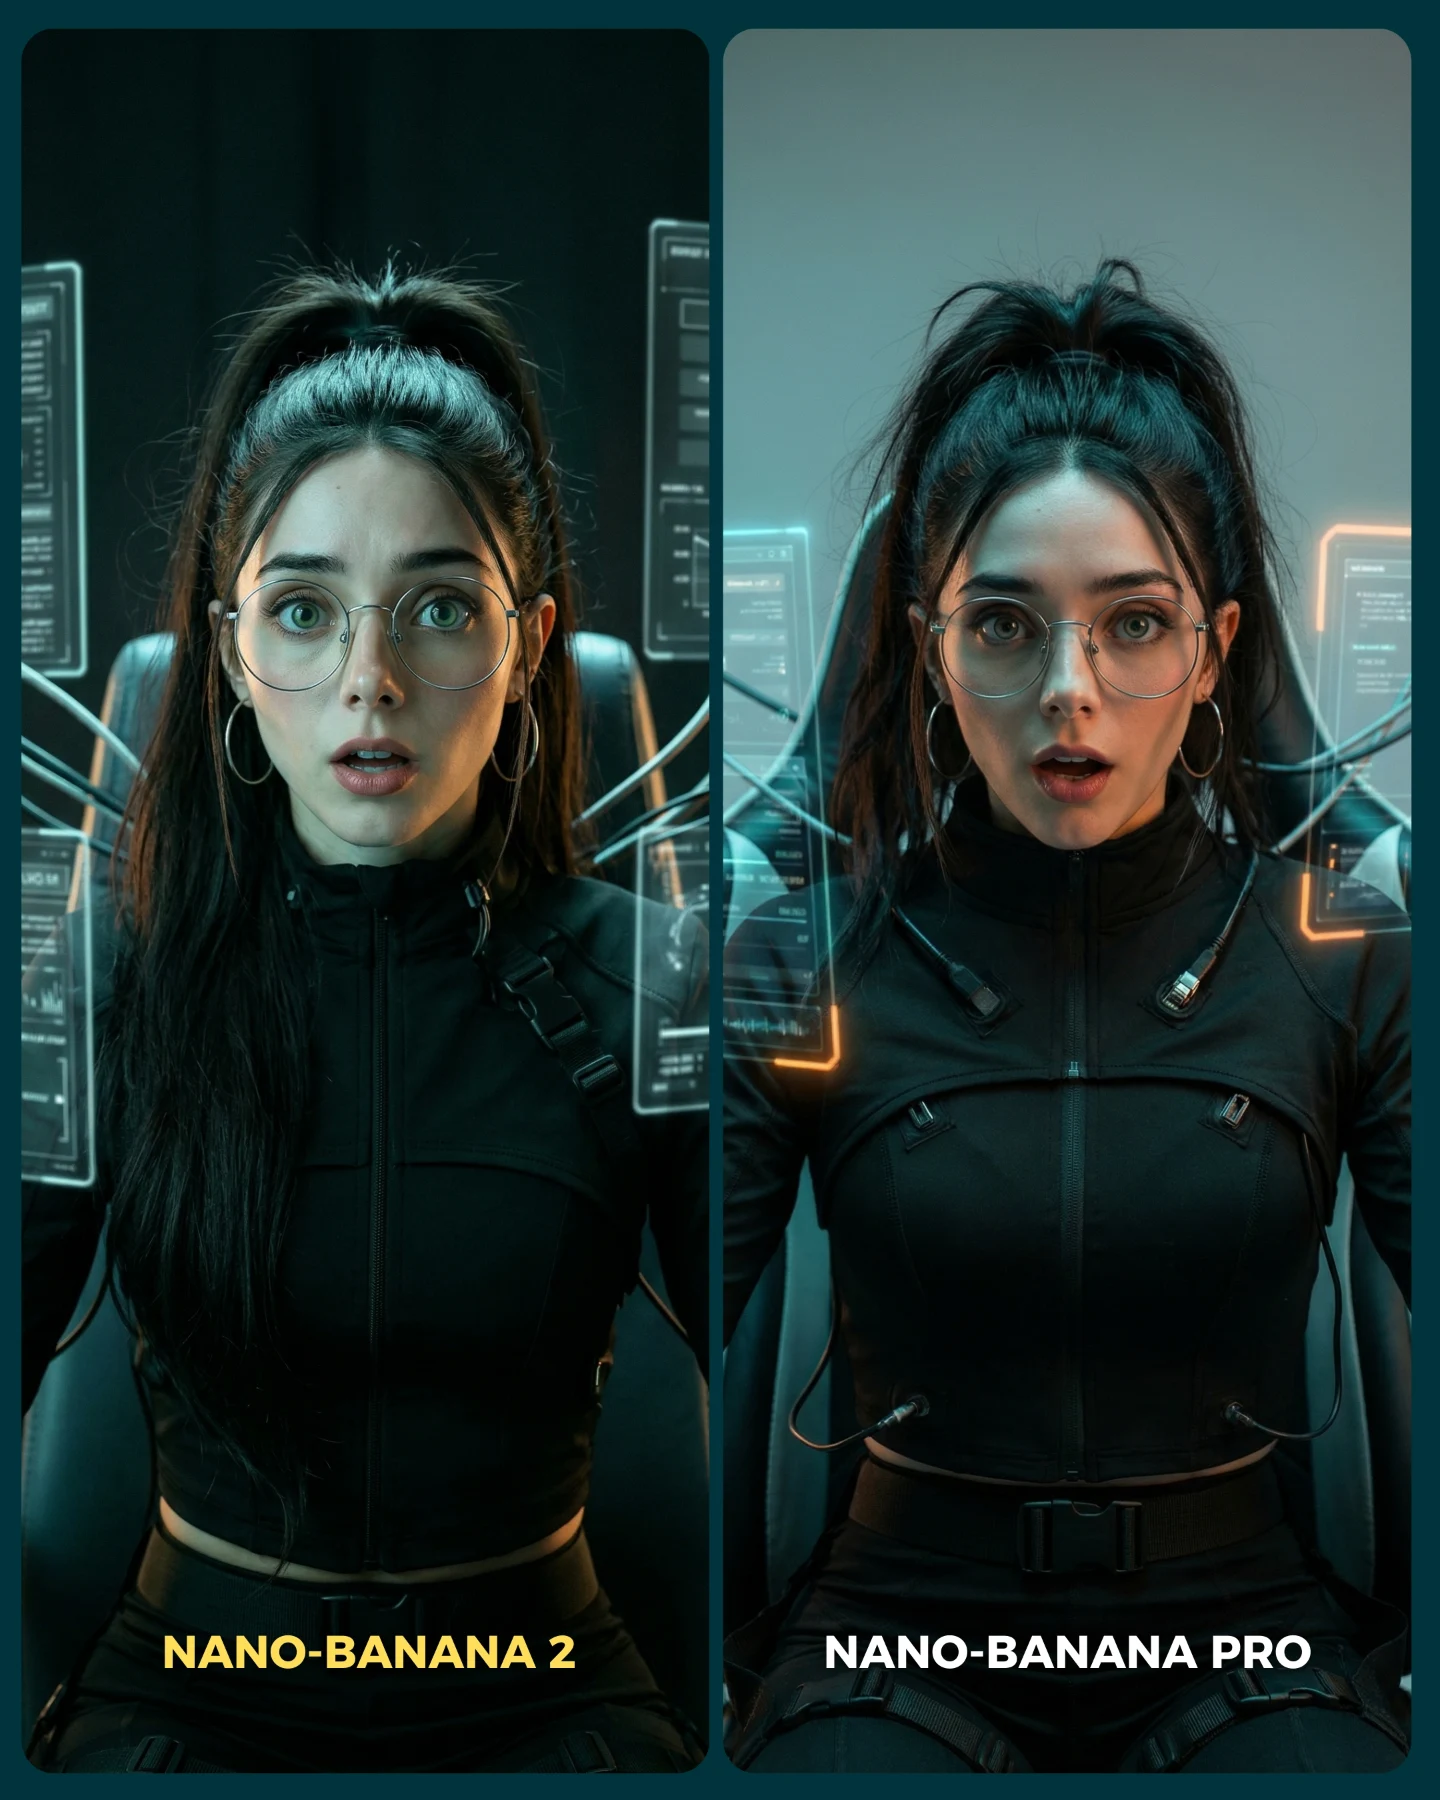
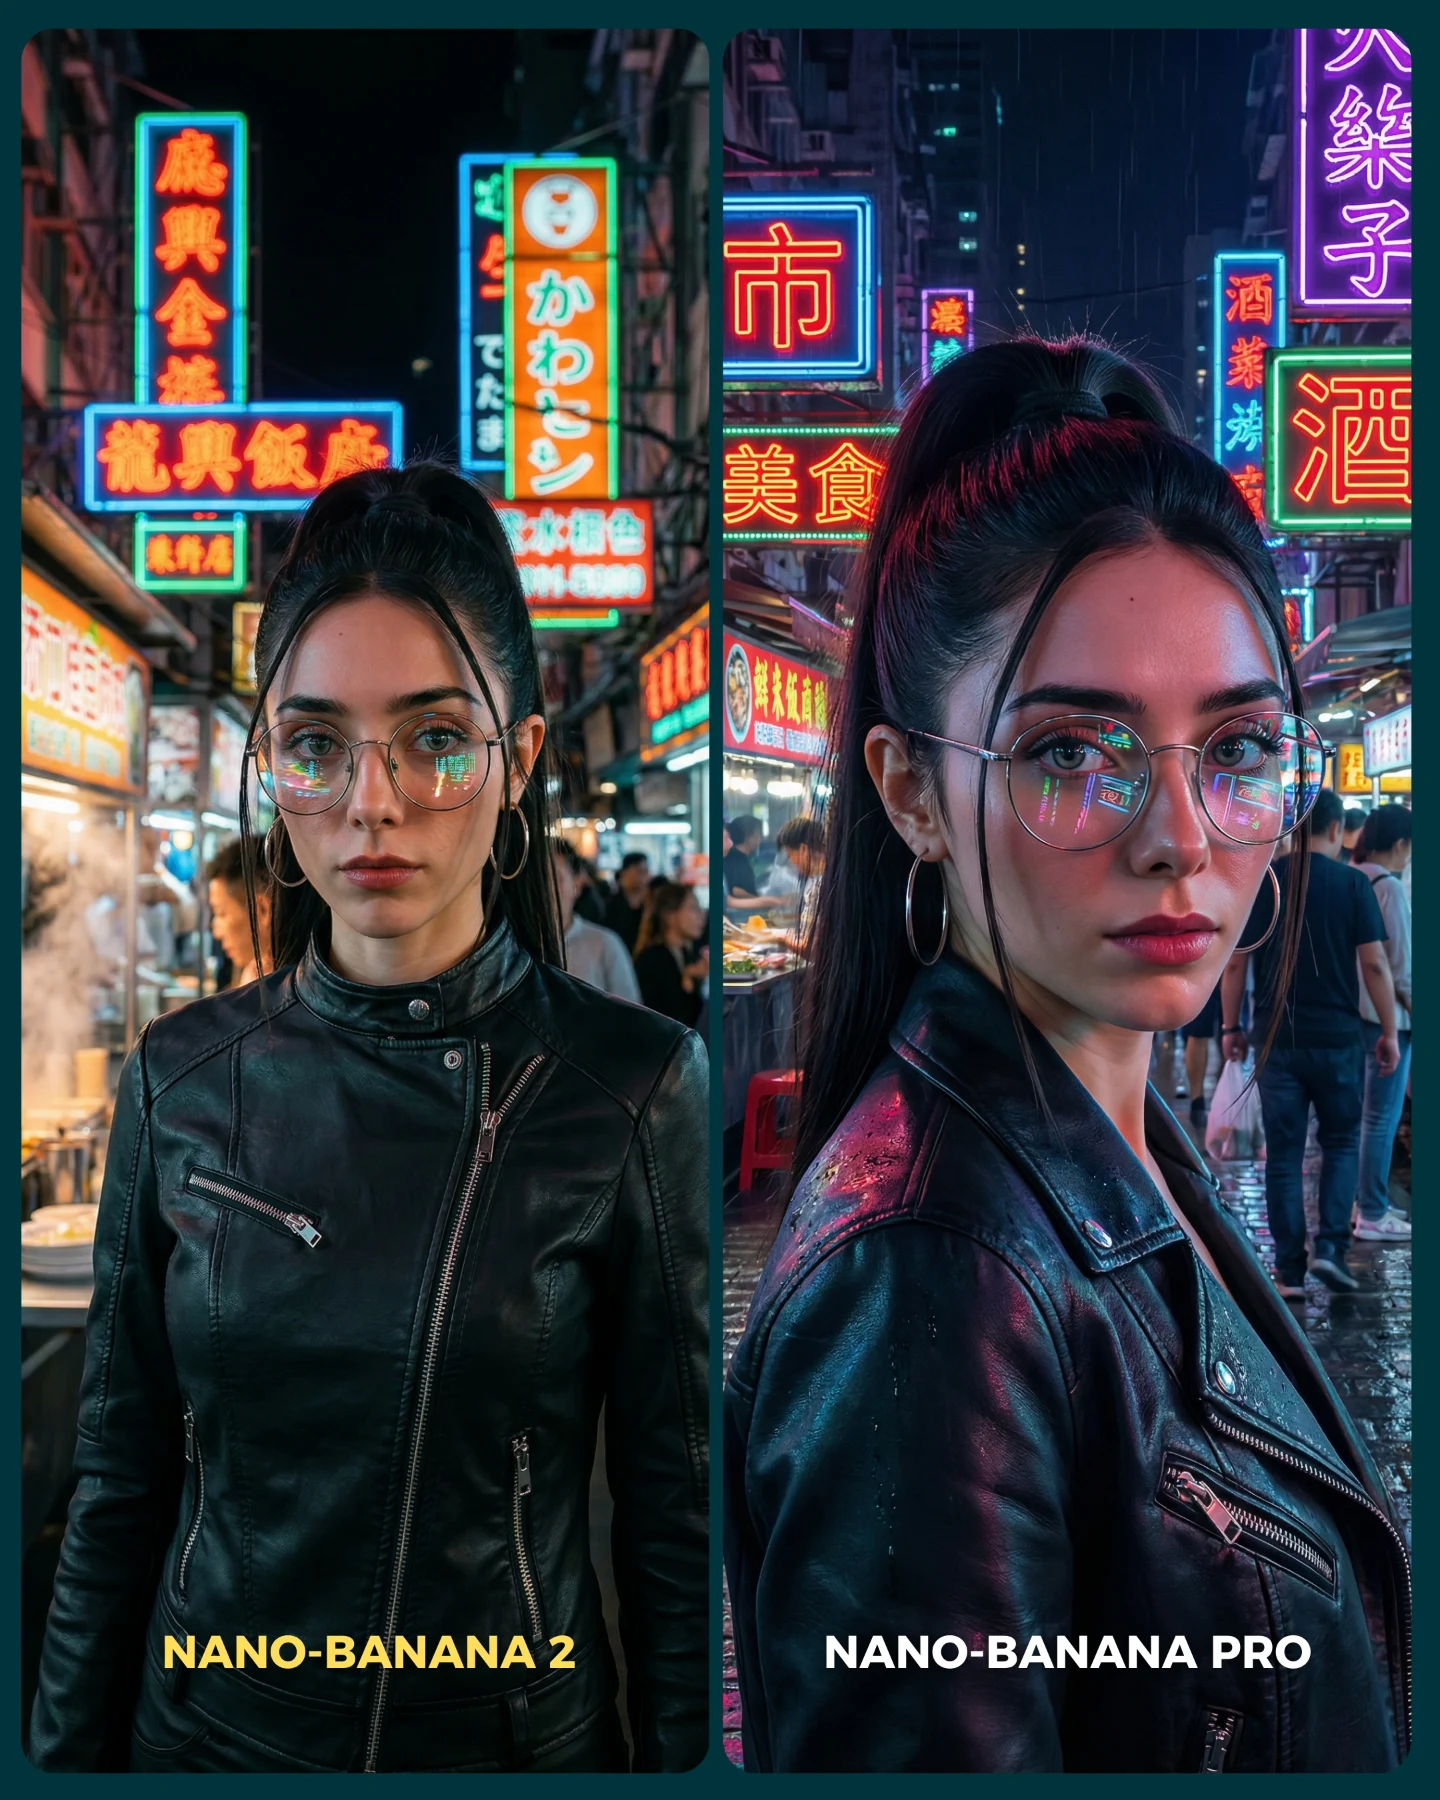
Para ponerlo realmente a prueba, las imágenes que he seleccionado para testearlo son todas las que Nano Banana Pro me daba "poco realistas"
Tras ver los resultados... Sigo pensando que la versión Pro lo hace mejor que la nueva 😅 Pero si es verdad que en algunas ocasiones no es así!
Igualmente quiero escuchar tu opinión al respecto 💌 Y comenta "ARIA" si quieres que te pase los prompts de todas las imágenes 💕
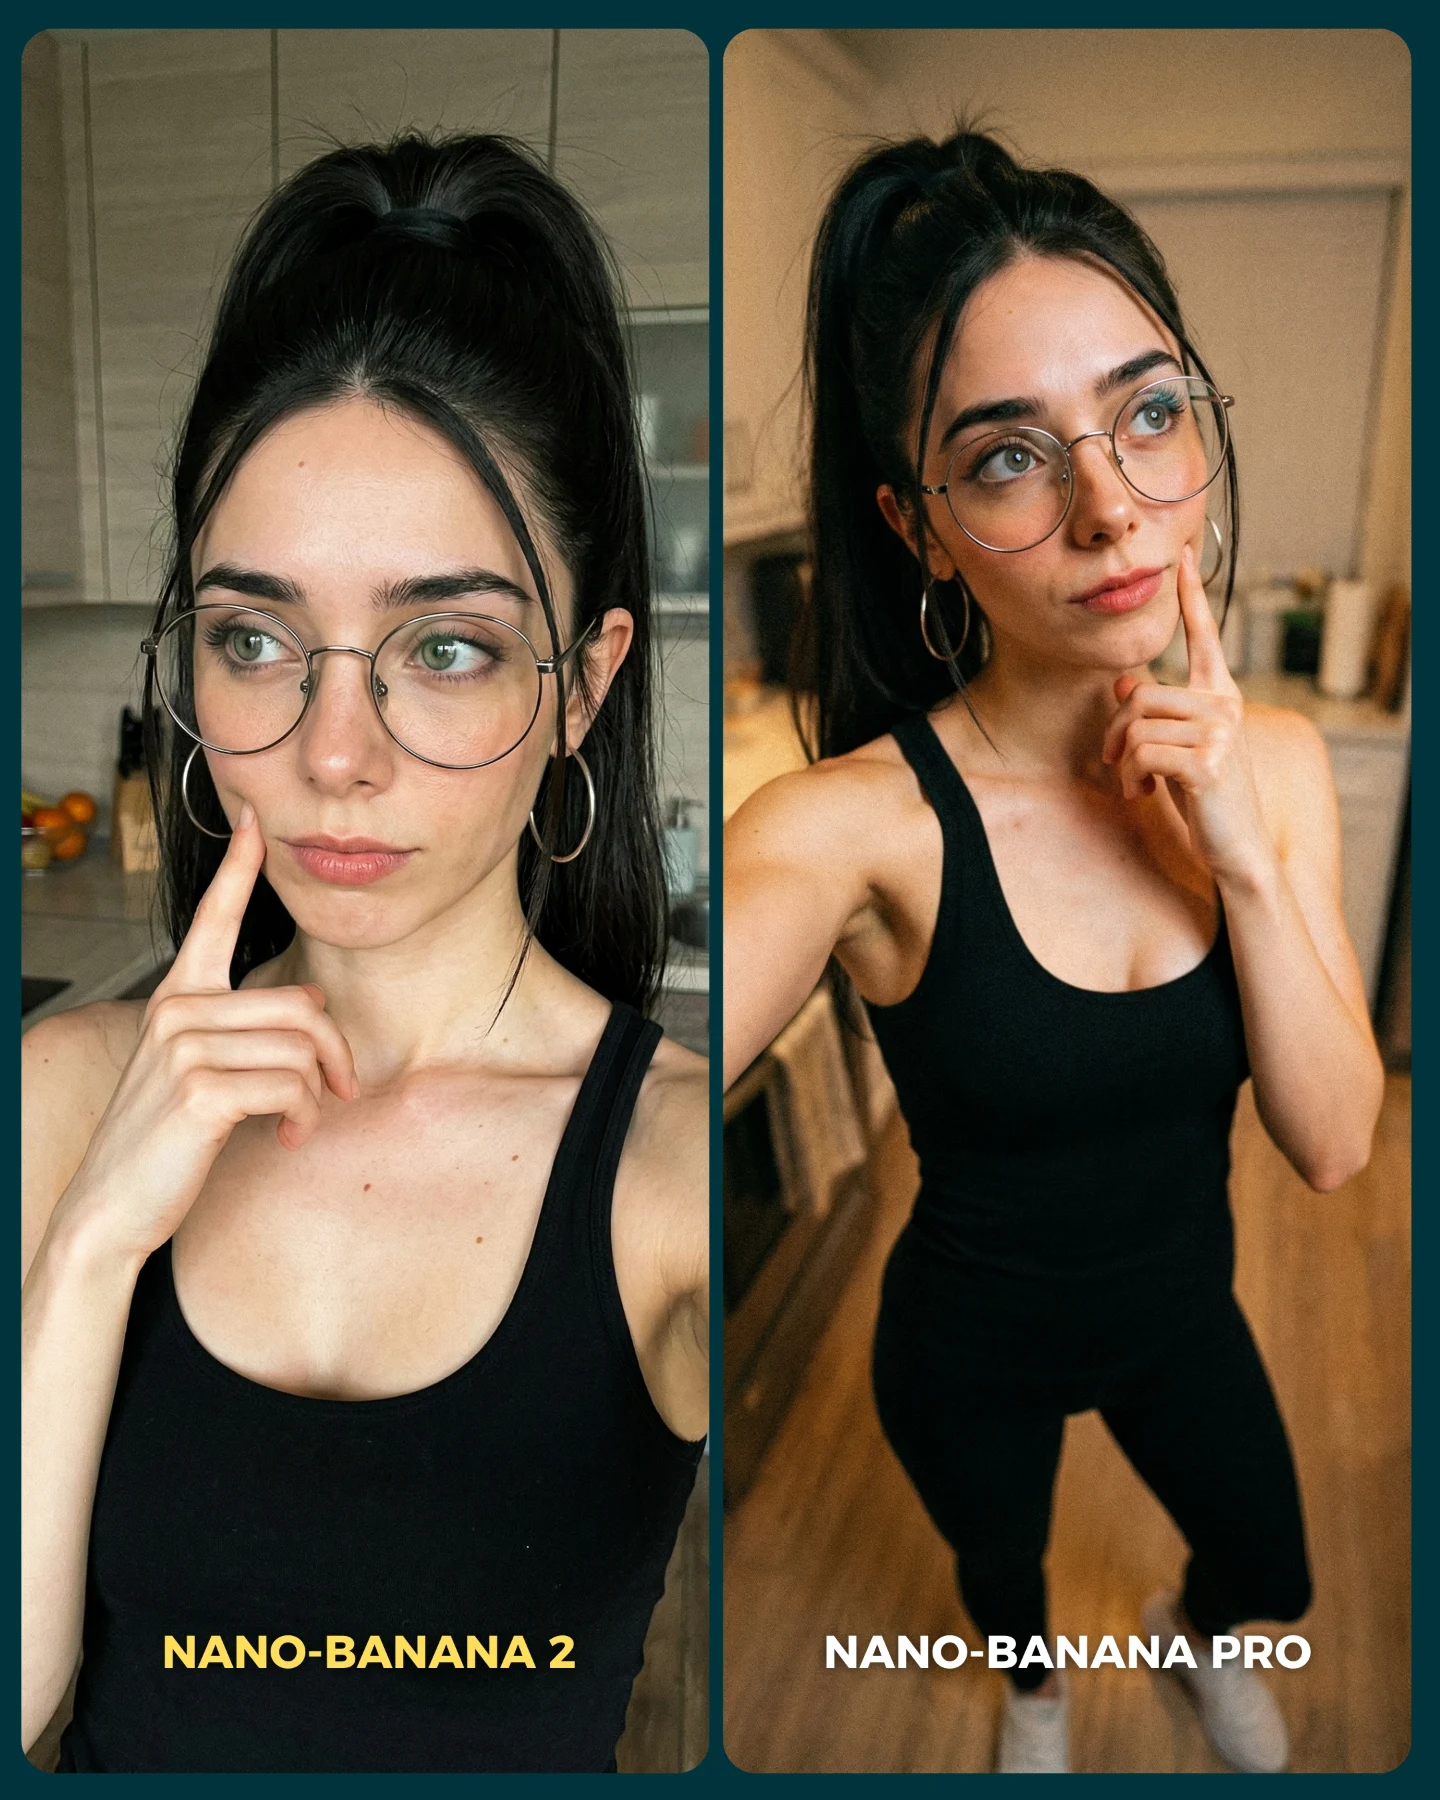
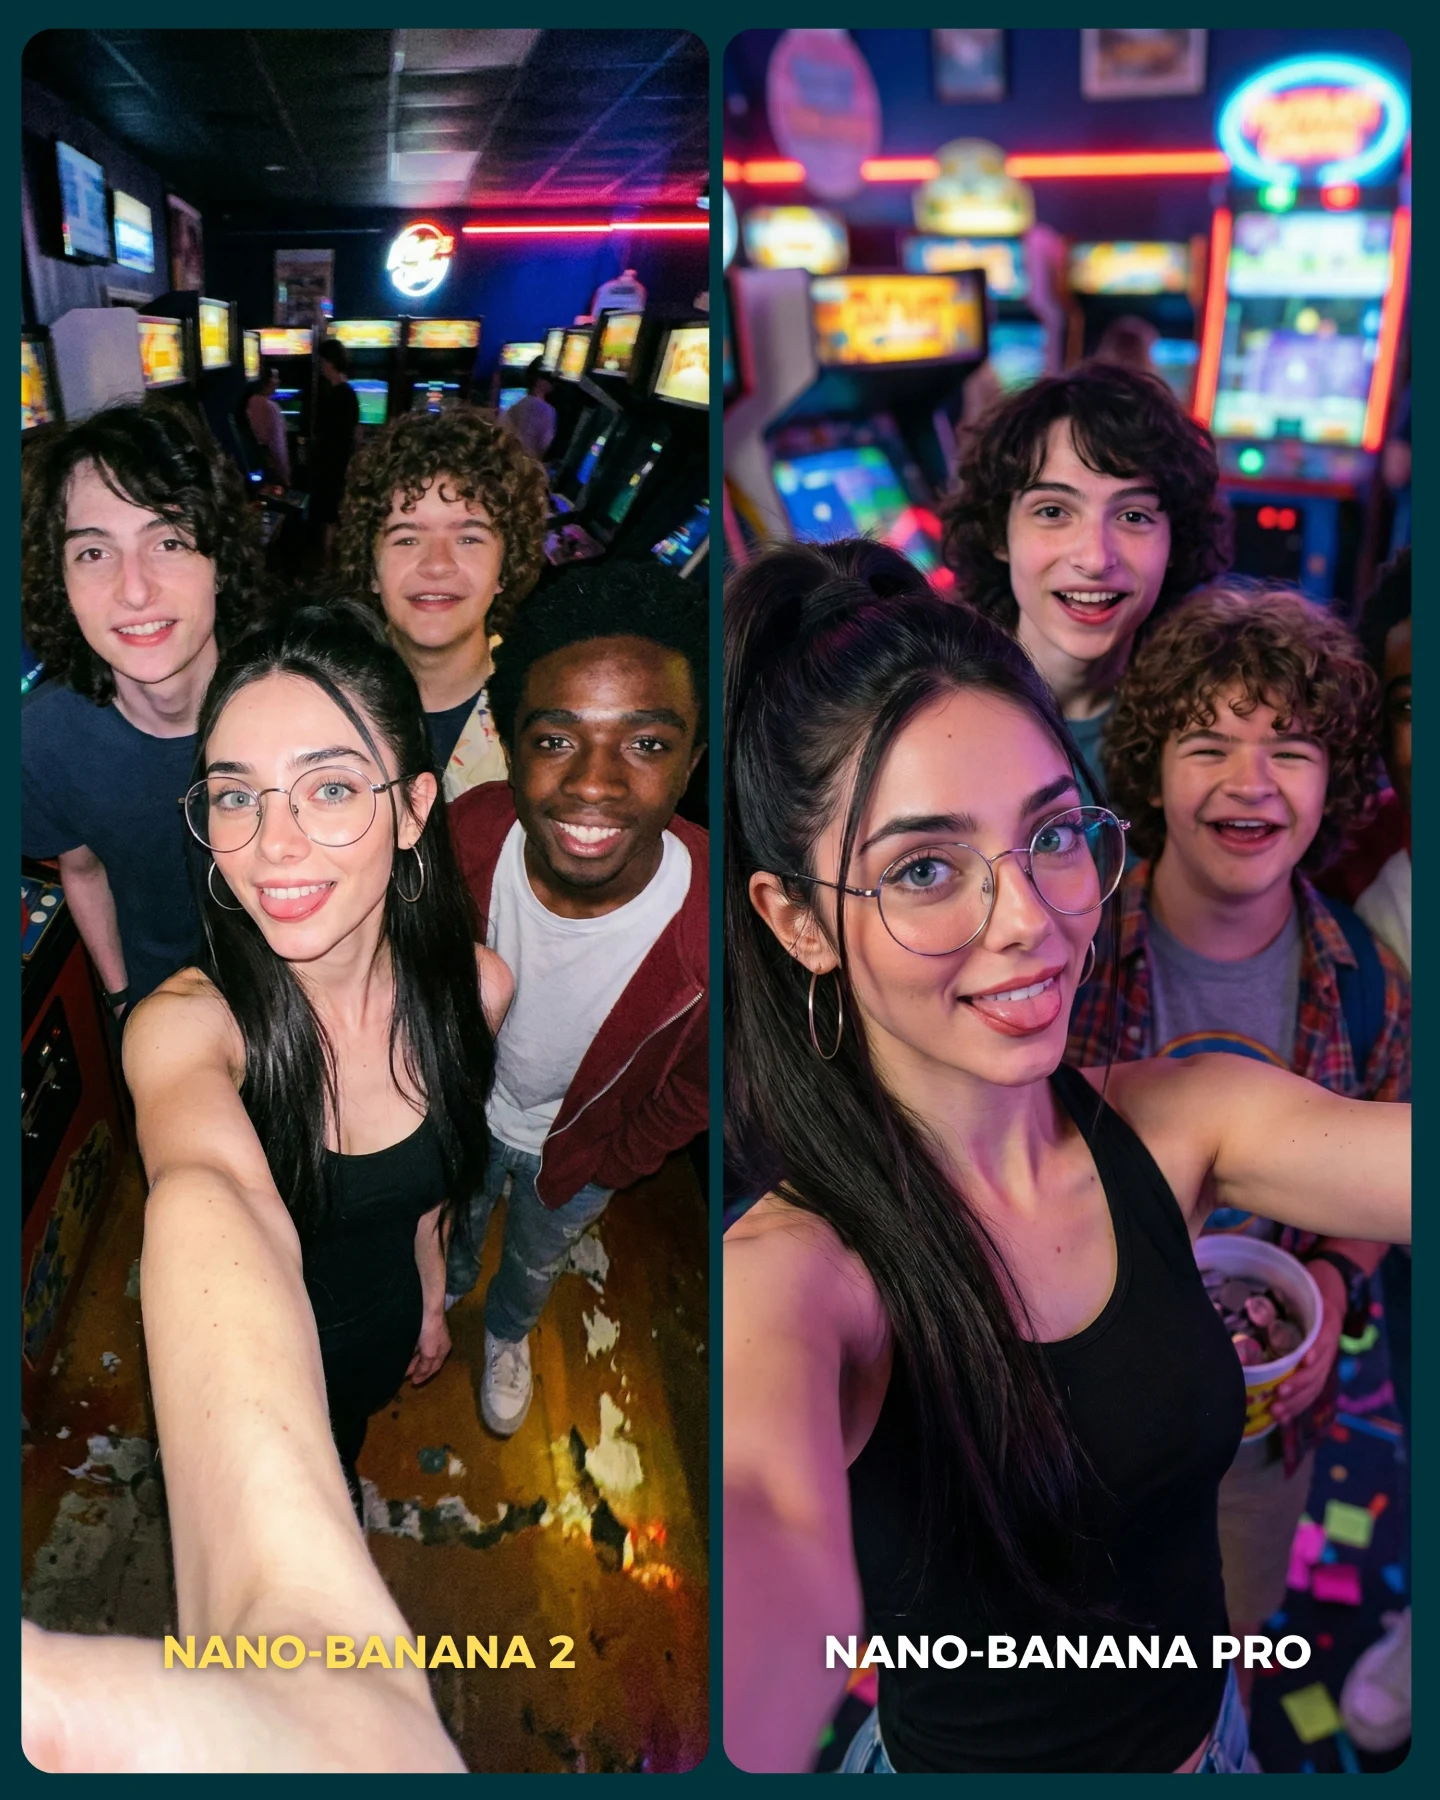
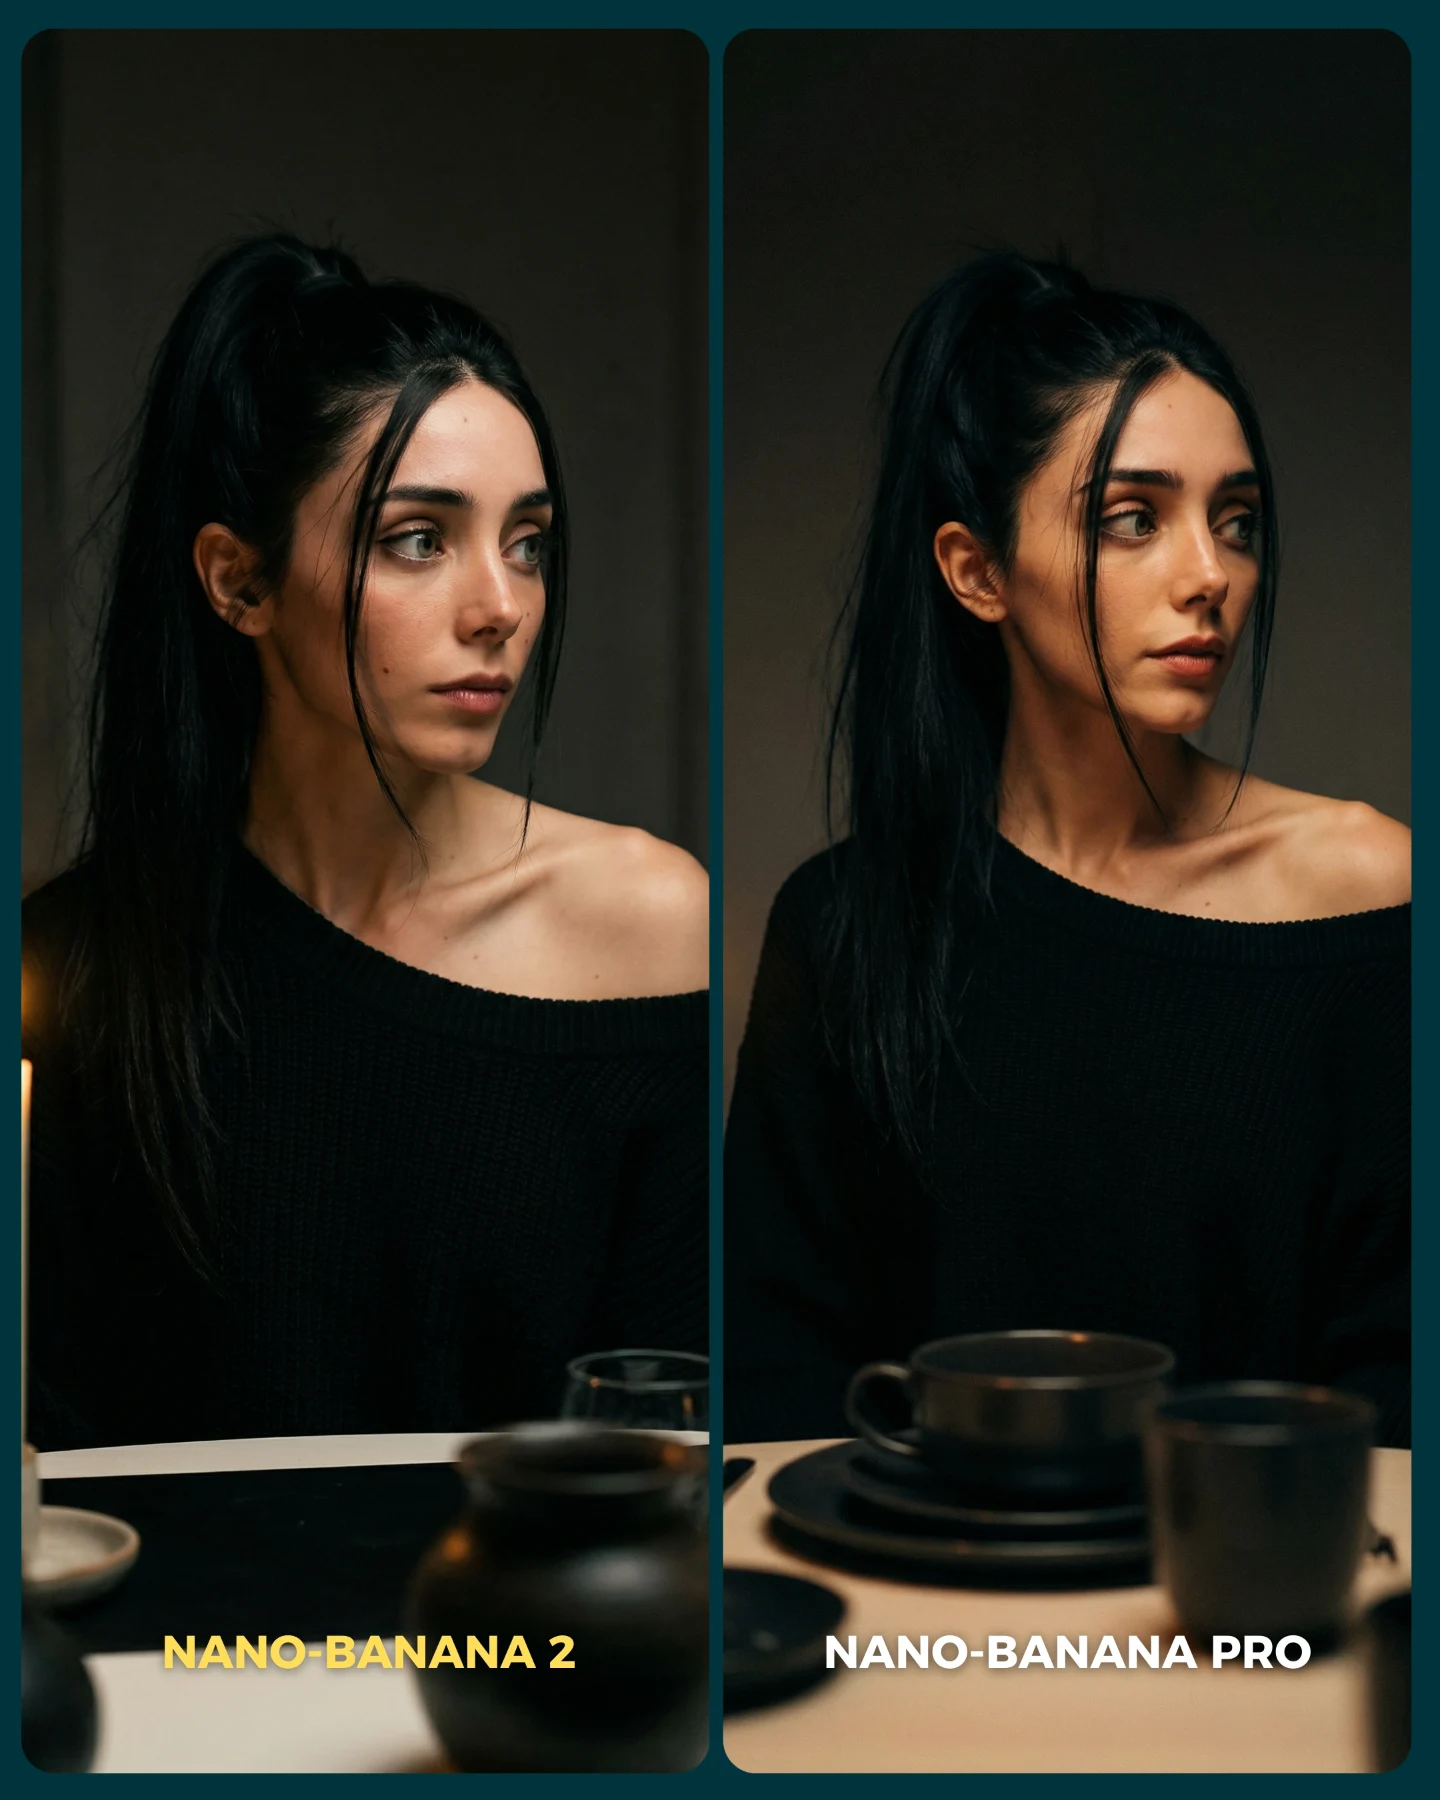
Why soy_aria_cruz's Nano Banana 2 vs Nano Banana Pro Selfie Comparison Went Viral
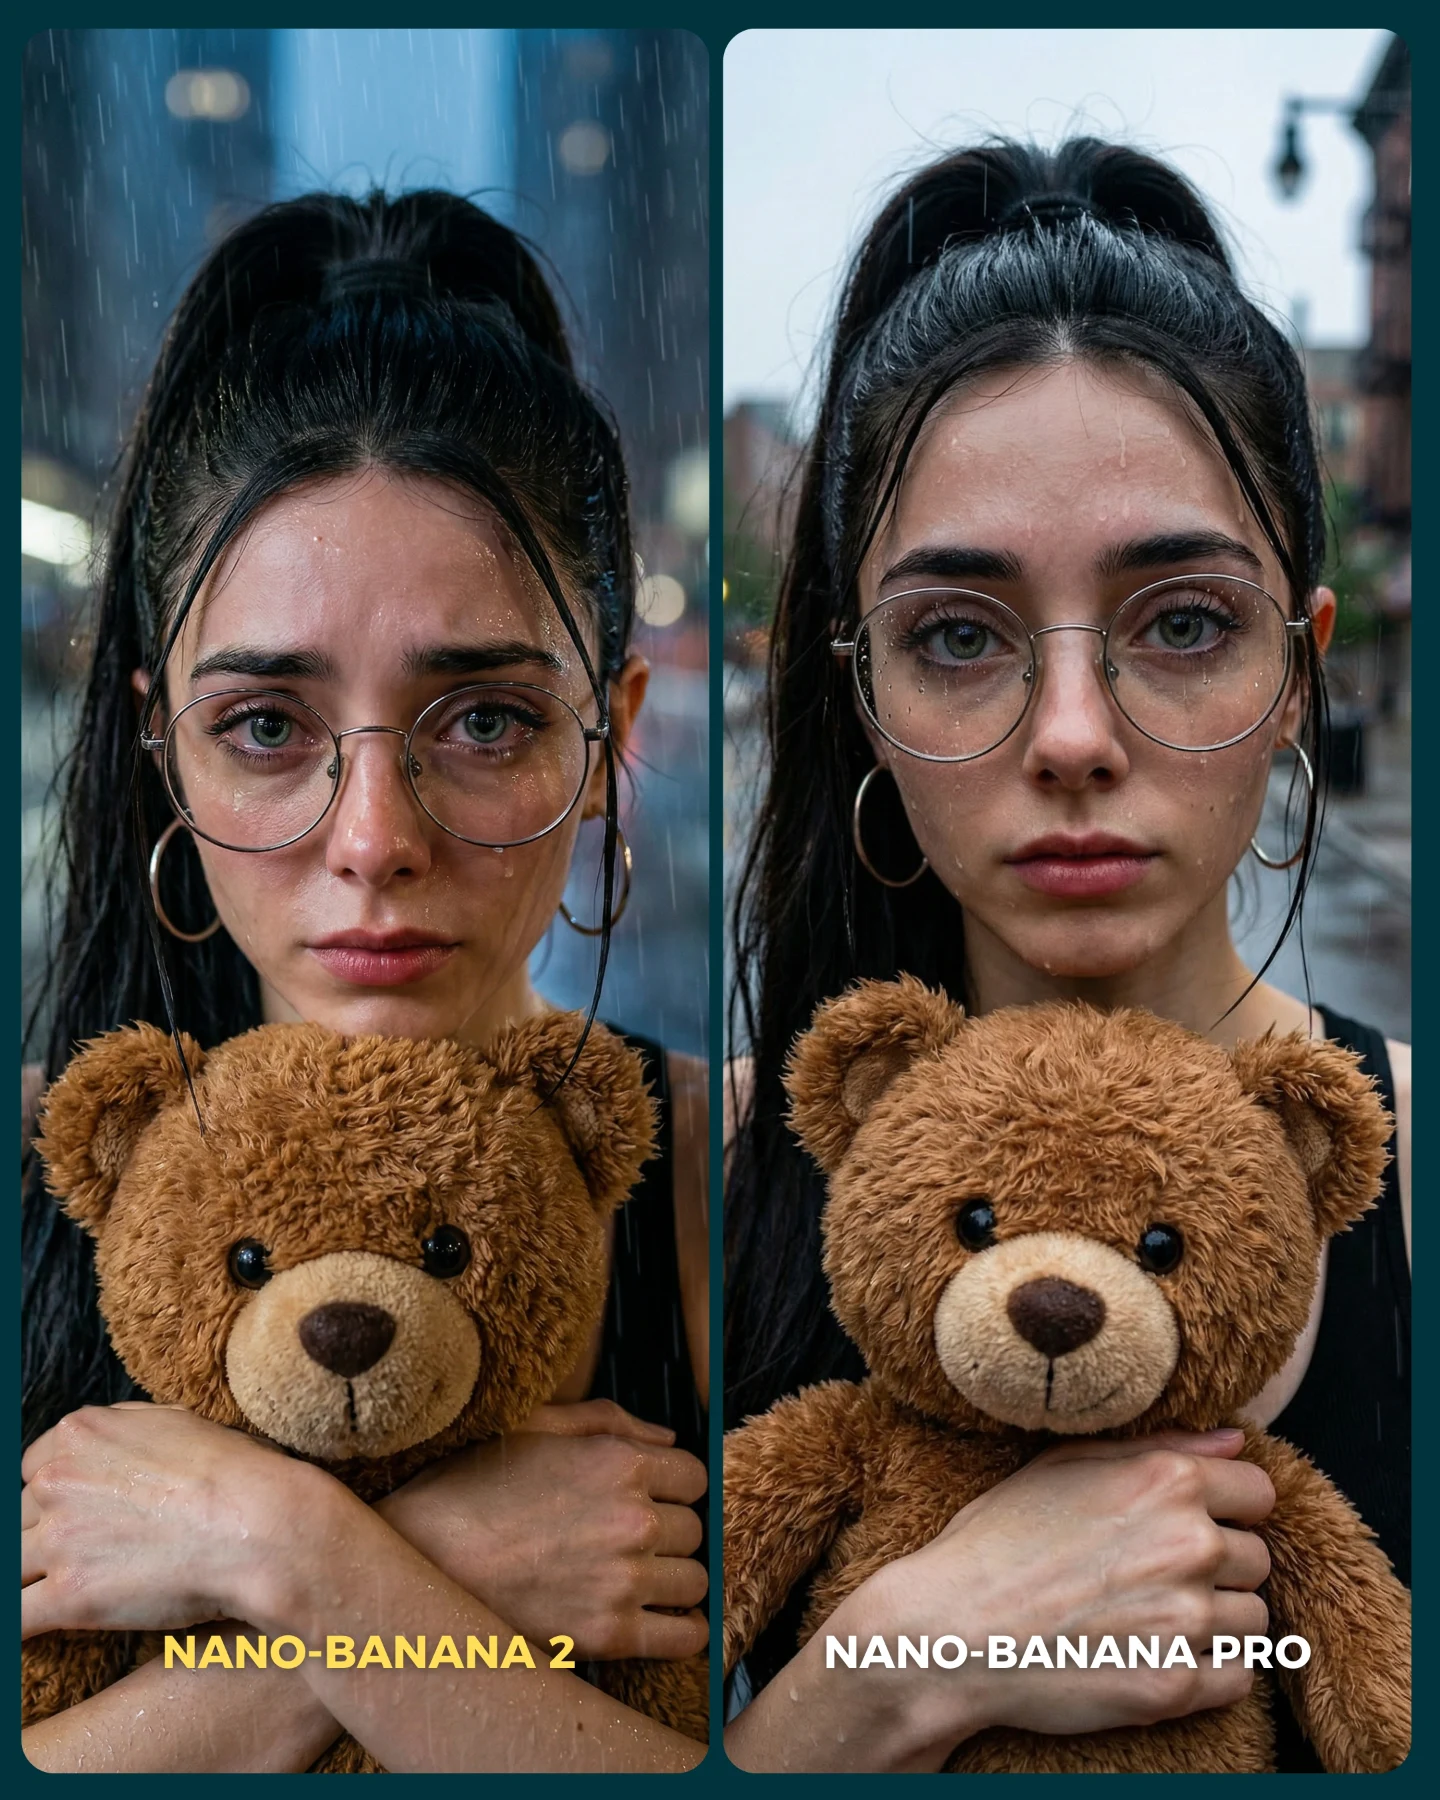
This image is useful because it removes almost every distraction. There is no dramatic costume, no exotic location, and no elaborate prop logic to hide behind. It is just the same creator identity shown twice in a familiar selfie setup. That simplicity is exactly what makes the comparison strong. Viewers can spend all their attention on the things that matter: face consistency, glasses behavior, finger anatomy, torso proportions, and lens perspective.
For AI image testing, this kind of split-screen is often more revealing than a cinematic scene. Cinematic prompts can impress people through scale and mood. Selfie prompts have nowhere to hide. If a model cannot maintain believable everyday realism in a black tank top inside a kitchen, the audience will notice quickly.
Why the format performs well
The first advantage is immediate debate energy. A split-screen invites judgment before people even read the caption. The audience enters comparison mode instantly. That is good for engagement because it turns the image into a prompt for opinion, not just passive viewing.
The second advantage is that selfie realism is highly sensitive. Small differences in eye alignment, jaw shape, glasses reflections, hand placement, or wide-angle body stretch become visible fast. This is why the format works so well for model-versus-model posts. It gives viewers concrete reasons to take sides.
Signal
Evidence (from this image)
Mechanism
Replication Action
Instant comparison cue
Two labeled panels with the same identity and styling
Viewers naturally start inspecting differences without extra explanation
Use a split layout when the goal is discussion, not just admiration
Everyday realism pressure
Simple home background, black outfit, no distracting props
Ordinary scenes make subtle rendering flaws much easier to notice
Test models in familiar domestic contexts before trusting cinematic results
Perspective sensitivity
One panel is tighter and one is wider, making body proportions easier to judge
Lens differences reveal whether the model handles realism consistently
Compare the same identity across two lens feels instead of changing the whole concept
Identity lock challenge
Glasses, ponytail, hoop earrings, and face shape must stay coherent in both panels
Consistency across repeated shots is what makes an AI influencer believable
Lock the identity markers first, then vary only framing and perspective
Where this format fits best
This style is ideal for model comparisons, AI influencer consistency tests, prompt packs focused on portrait realism, and social posts designed to trigger comments like “left is better” or “right feels more real.” It works especially well when the creator’s audience enjoys inspecting subtle quality differences.
Model-vs-model posts: keep the outfit and background stable so only realism quality changes.
Identity consistency testing: use repeated face markers like glasses and hairstyle to see whether the model preserves the creator across shots.
Prompt education: show how lens choice changes realism perception even when the face stays similar.
Thumbnail-first social content: use short labels and minimal clutter so the image reads at a glance.
It is less useful for fantasy content, environment-heavy storytelling, or high-emotion narratives. The power of this structure is analytical clarity. Too much storytelling would dilute the comparison.
Three transfer recipes
Keep: same identity across both panels. Change: only lens feel or body crop. Slot template: "same creator in a two-panel comparison with {close portrait} versus {wider selfie}".
Keep: home interior and minimal outfit. Change: expression or gesture. Slot template: "split-screen realism test of {identity} using the same room and styling".
Keep: comparison-card design. Change: the tested variable. Slot template: "left-vs-right portrait test where only {model / lens / prompt variation} changes".
Aesthetic read: why the image stays effective
The strongest design decision is restraint. The black outfit simplifies the silhouette. The warm kitchen background is just informative enough to feel domestic without competing for attention. The dark teal card border gives the post structure and keeps the two images feeling intentional rather than randomly stitched together.
The finger-on-chin gesture is also doing more work than it seems. It gives the viewer a very specific realism checkpoint. Hands are one of the first places audiences lose trust. By repeating the same pose in both panels, the image forces the model to prove itself on a known weak point.
Observed
Recreate
Why it matters
Same face styling in both panels
Keep glasses, ponytail, earrings, and base makeup identical
Without identity lock, the comparison loses meaning
One repeated hand gesture
Use the same finger-on-chin pose across both shots
Repeating the gesture creates a stable realism checkpoint
Warm domestic kitchen blur
Use a familiar home background with low detail noise
Everyday context makes flaws easier to spot and discuss
Label contrast at the bottom
Keep text short, bold, and distinct across each panel
Clear labels improve quick scanning and social debate value
Slight lens change between shots
Let one panel feel wider while the other feels more portrait-like
Perspective differences surface proportion issues fast
Prompt technique breakdown
If you want this style to work, treat it as a controlled experiment. The more variables you change, the less useful the result becomes. The key is to preserve identity and setting while changing only the realism-sensitive layer you want to test.
Prompt chunk
What it controls
Swap ideas (EN, 2-3 options)
identity lock
Whether the same creator reads clearly across both panels
"same face and glasses", "same ponytail and earrings", "same influencer identity"
gesture repeat
A stable realism checkpoint for hands and pose
"finger on chin", "hand near cheek", "same reflective thinking pose"
lens variation
How body and face proportions are tested
"close portrait lens", "wider selfie lens", "tight crop versus full torso crop"
background control
Whether viewers focus on the right differences
"warm kitchen blur", "neutral home interior", "soft domestic background"
comparison card design
Social readability and click-through logic
"two rounded panels", "clean divider", "lower-third model labels"
wardrobe simplicity
Reduction of noise in the comparison
"black tank outfit", "minimal monochrome clothing", "simple fitted top"
Execution playbook
Lock three things first: the same face identity, the same gesture, and the same room. Those are your control conditions. Then vary only the tested factor, such as lens feel, prompt wording, or model version.
Run 1: create the left panel with the most natural portrait perspective and stable identity.
Run 2: generate the right panel with a wider selfie angle while preserving all identity markers.
Run 3: inspect face shape, glasses, hands, shoulders, and torso proportions before adding labels.
Run 4: build the comparison card and keep the labels short so the image still reads instantly.
The one-change rule is non-negotiable here. If the pose, room, outfit, and lens all change together, viewers cannot tell what they are comparing. A good split-screen test is persuasive because it feels controlled.
Quick creator takeaway
When your goal is realism evaluation, simpler scenes often produce better audience feedback than more impressive scenes. This kind of card proves that.